posted by Lisa Snyder on December 12, 2024
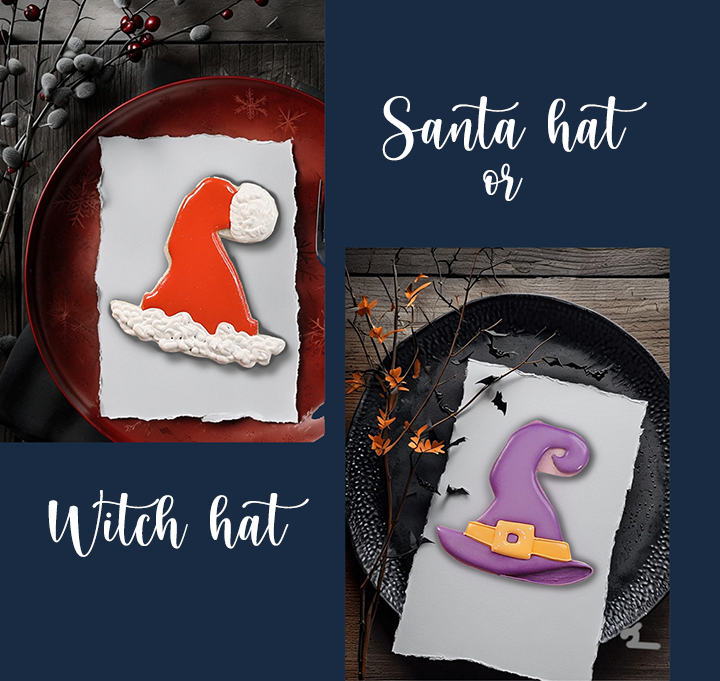
How to Make Fun Witch and Santa Hat Cookies with the Same Cutter. Yep! You read that right. You can use a witch hat cookie cutter to make a witch hat and a Santa hat cookie. I don’t know about you but I love using one cutter to make different cookies.


You have a simple Santa hat or witch hat cookie cutter that will allow you to make versions of the cookies. You could even turn it into a birthday hat or an elf hat cookie. The possibilities are endless. Well, maybe not, but you get the idea.
Let’s get started.
Supply List:
(contains affiliate links)
Cookie Cutter
Royal Icing Colors:
Santa Hat:
Witch Hat:
Supplies:
If you choose to airbrush your cookies here is a link to the airbrush system and the airbrush color I used:
The Flour Box also has an amazing airbrush system:
How to Make Fun Witch and Santa Hats with the Same Cutter Video:
Enjoy the video!
Time to Make a Santa Hat Cookie:
This Santa hat is easy to make. It’s a great project to make with the kids this holiday season. Let’s get started.
- Outline the part of the hat you want to make red. I like doing the sides and the top. I leave the bottom open for the white royal icing, but you do whatever makes you happy.
- Next, use thick white royal icing to make the fur on Santa’s hat. This is really fun and the kids will enjoy this part.
- Finally, flood the rest of the hat with the red royal icing.
Optional:
Next Up, Witch Hats:
- Begin by drawing the pattern on the hat. It isn’t difficult, but it will help you place the colors in the right area without thinking about it while you’re holding a decorating bag.
- Next, add a little royal icing to the inside part of the hat.
- Use a paintbrush to make the icing flat.
- Outline the rest of the hat cookie.
- If you choose to add a little airbrushing, spray the top part to make it look like a shadow.
- Next, flood the rest of the brim and add some airbrush color. You can see how simple this is in the video above.
- Next, flood the cone of the hat and airbrush the edges. You can wait a little while for the icing to dry or you can add it while the icing is wet. If you add it while it’s wet you need to work fast. It’s fun but you don’t want the icing to dry and then have the airbrush gun blow cracks into it. Do whatever makes you comfortable.
- Now go back to the buckle on the hat and outline and flood it. Add some airbrush color.
Time for the Buckle:
- Outline the buckle area of the hat. I like to use some icing and pipe it in that area to help prevent my icing from sinking as it dries. Pipe a zig-zag line to help hold the royal icing in place as it dries.
- Next, flood that area and let it dry for a little while. You want the buckle to form a crust before you add the second layer.
- Now outline and flood the second layer of the buckle.
You are all done! Wasn’t that simple?


What are you going to make first? A witch hat or a Santa hat? Since I’m posting this after Halloween I assume you will make the Santa hat first. I don’t blame you, it is a cute hat. Don’t forget, you can make a birthday hat or an elf hat. I can’t wait to decorate these with the grandkids this holiday season.
If you haven’t entered the KitchenAid Mixer Giveaway yet you can do that now. Enter as many times as you’d like. There is only one mixer so enter now. Find all the details at It’s Time to Enter for a Chance to Win a KitcheAid Mixer here! Good luck!
Bear hugs,