


Origami is a fun pastime practiced by many people all over the world. As you know, at Skip to My Lou, we love taking paper, applying a few folds, and creating magic.
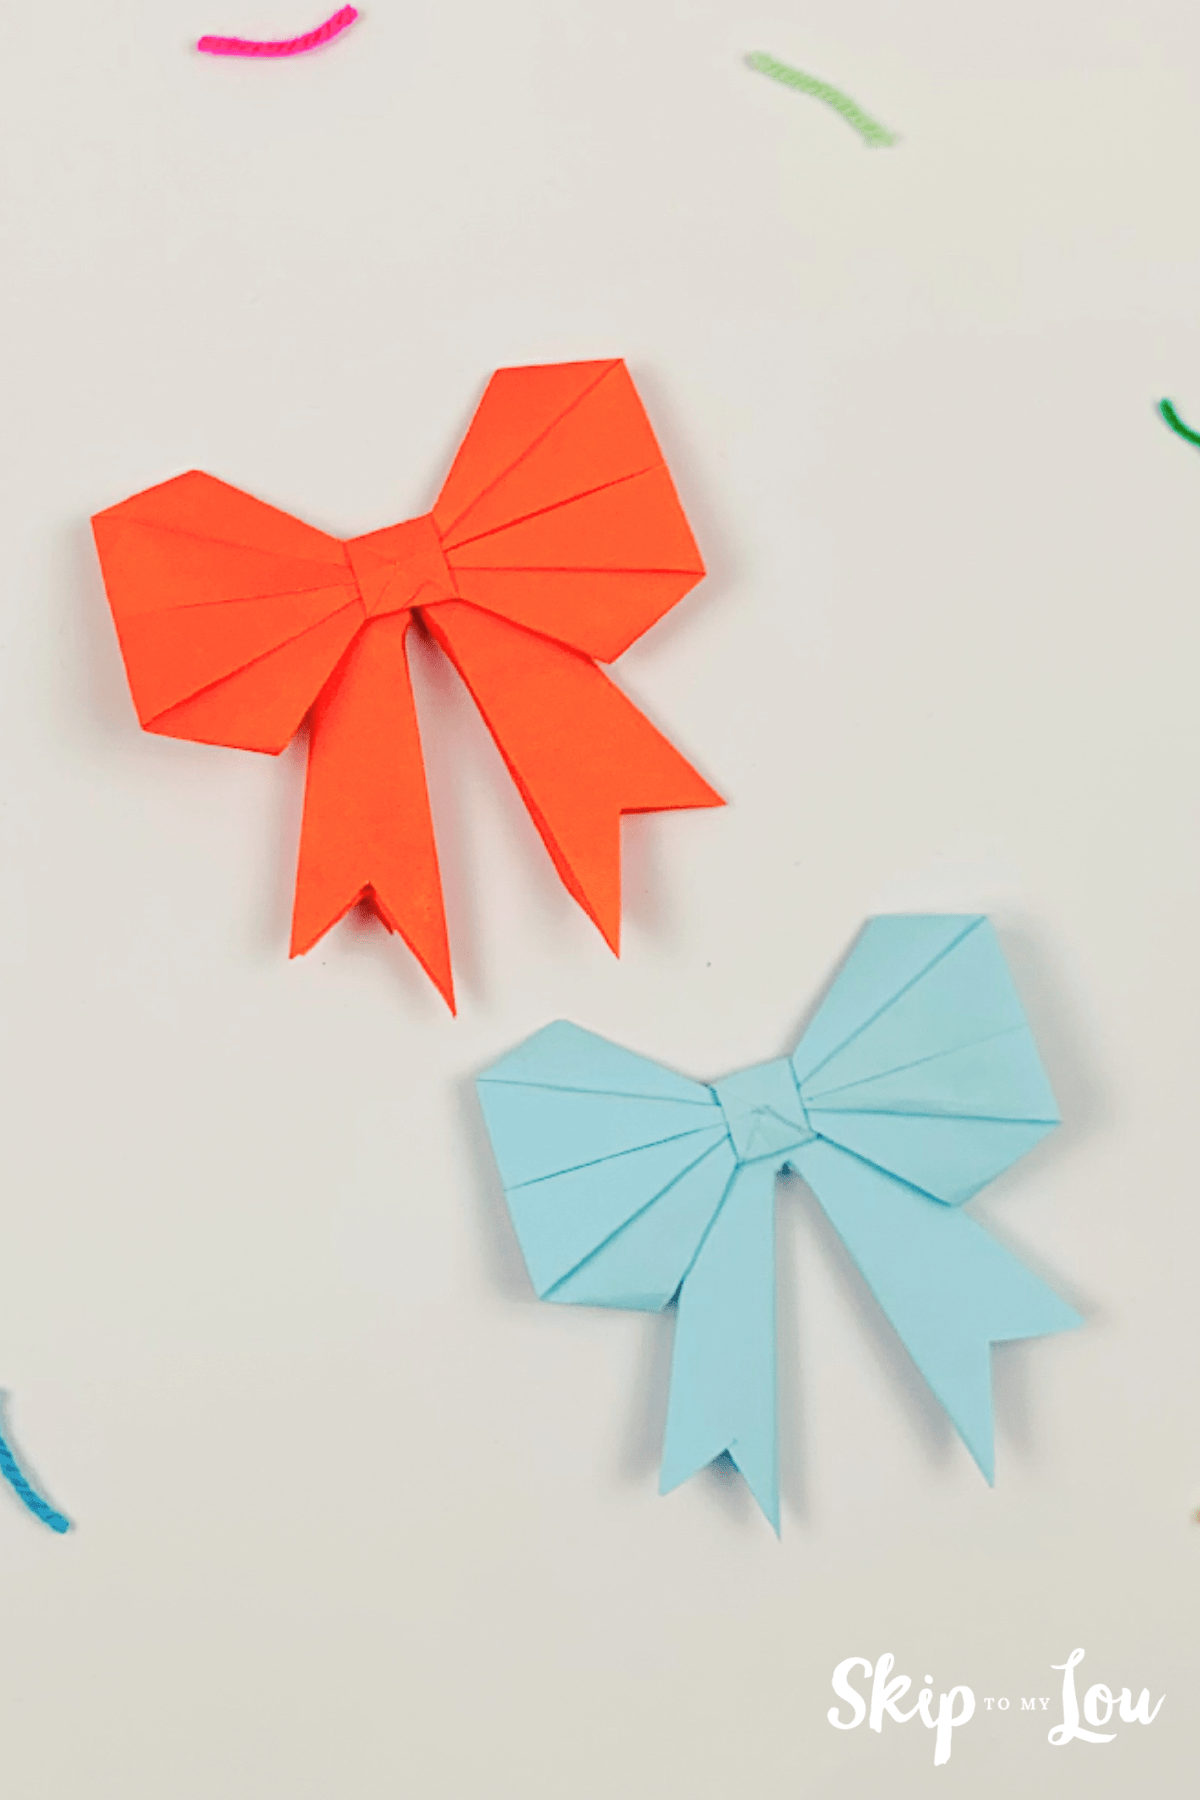
Today, that magic is a paper bow, origami style! You can use these bows as decorations for various events, or instead of a ribbon on gifts, or place it on a birthday gift box or even for Valentine’s Day.
While this tutorial is not for beginners, you can help your children fold a bow together. And nothing could be better than spending time with them, right?
So let’s jump straight in, shall we?

If you love folding origami, be sure to check out some of our other projects including Folding an Origami Owl, How to Make an Origami Parrot, and our 8-Step Origami Wreath Tutorial.
Origami Is Excellent for Kids because…
Origami is more popular than ever—and for good reason! This centuries-old Japanese art form is not only a fun activity for kids but also a wonderful way to help them grow.
For starters, origami teaches patience, a skill we could all use in today’s fast-paced world. It also helps kids focus for longer periods, sharpening their concentration. And as they fold and shape paper, they build fine motor skills in such an enjoyable way.
Best of all, it’s just plain fun!
Video: Watch How to Fold Origami Paper Bows
Here’s a step-by-step instructional video on how to fold an origami gift bow.
Supplies Needed to Make an Origami Bow
You will need:
You won’t need any glue at all.
Step-by-Step How to Fold a Cute Origami Bow
So here’s how you fold an origami bow from a small square piece of paper.
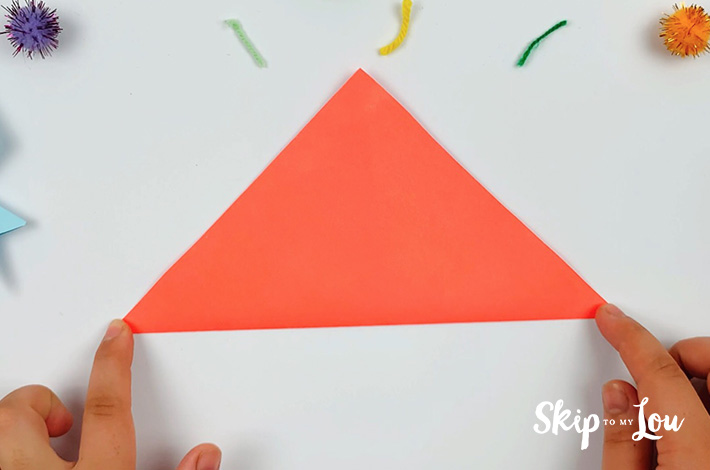
Step 1: Start with a square piece of paper and fold it in half at a 45-degree angle, making a creased line.

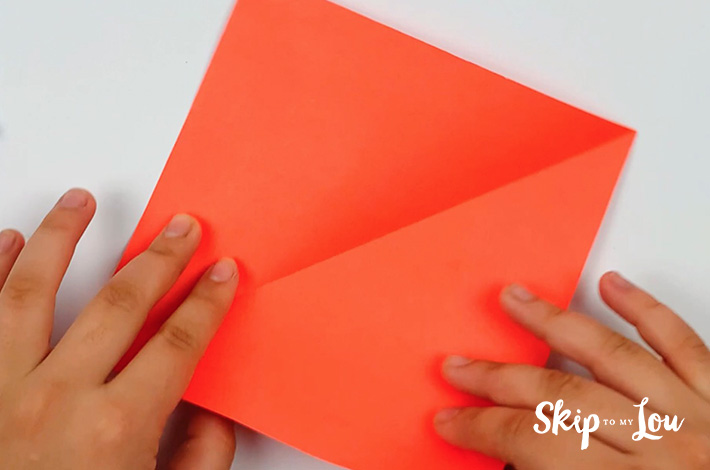
Step 2: Unfold the paper and turn it to fold another triangle so that the crease lines cross in the middle.
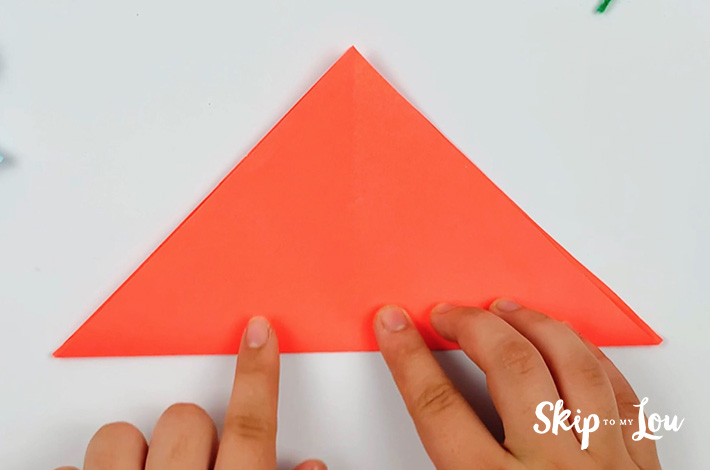
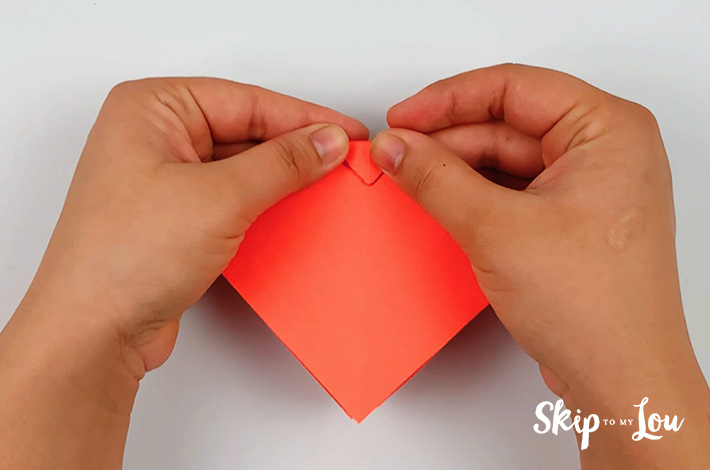
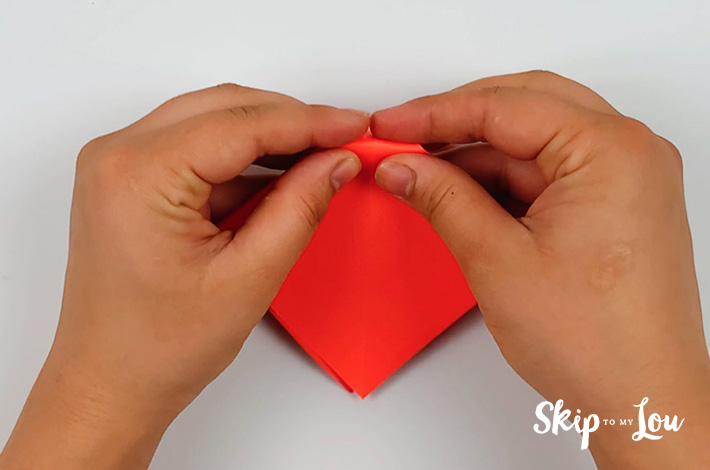
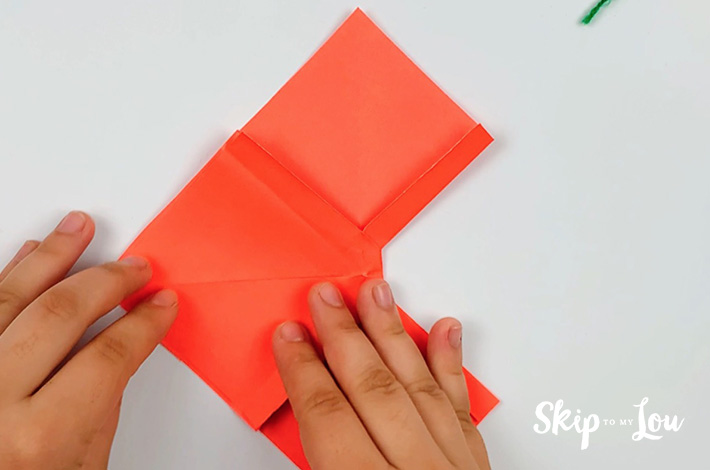
Step 3: Turn the paper and fold the bottom flap towards the top flap and in half.
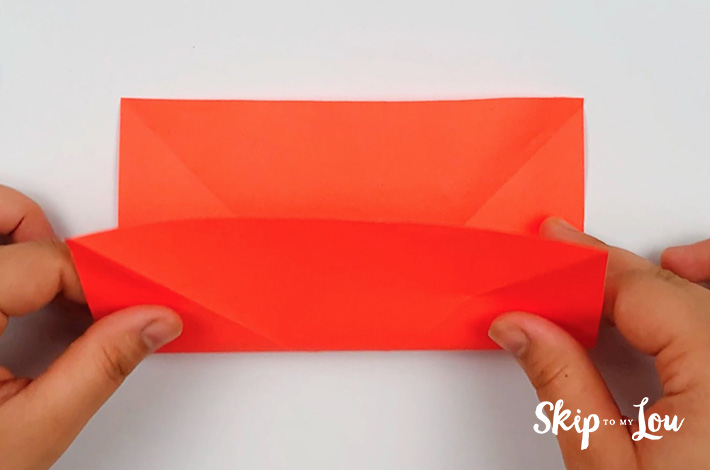
Step 4: Turn the paper 90 degrees and make exactly the same folds again, from the bottom towards the top.
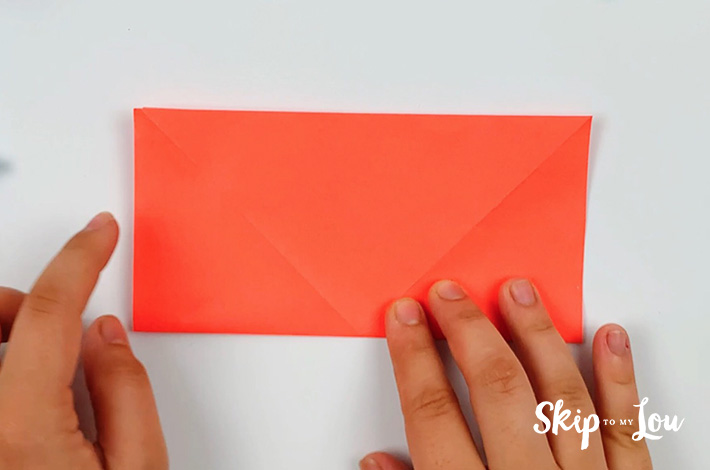
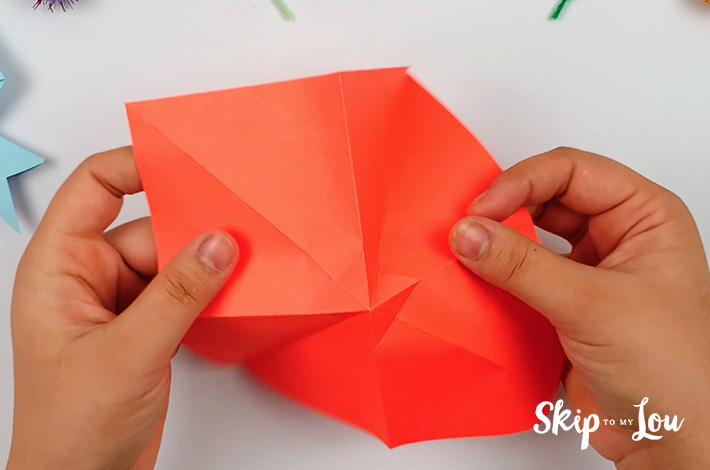
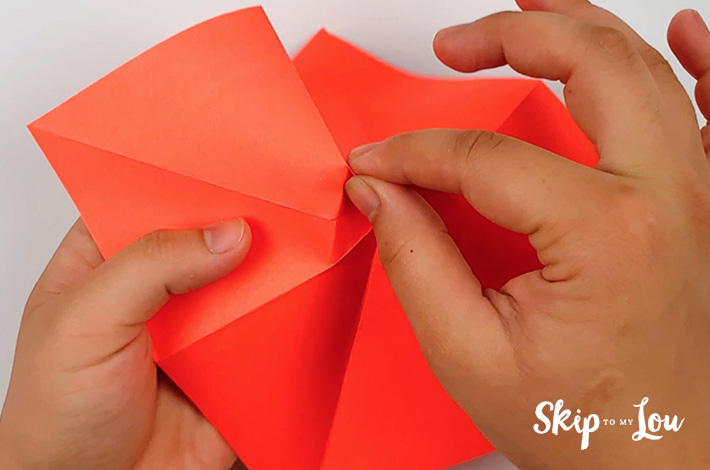
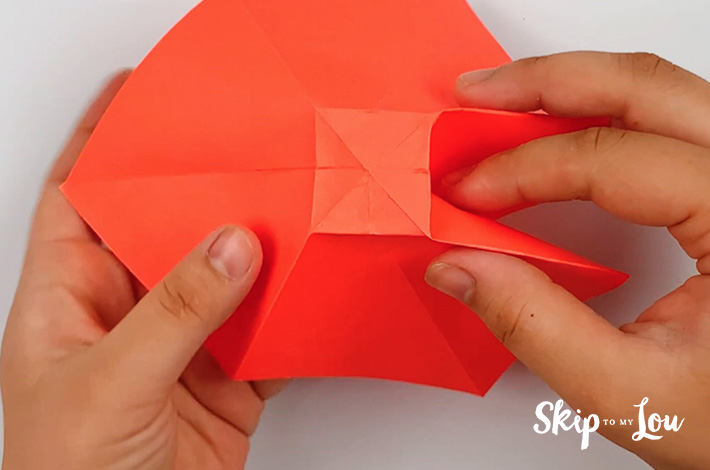
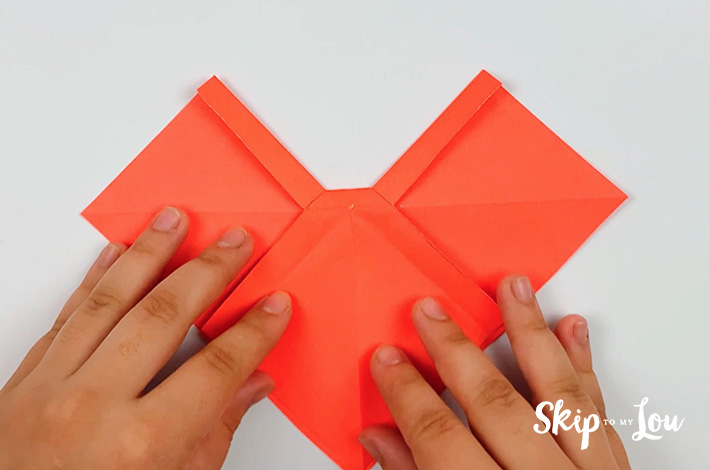
Step 5: Unfold the paper, turn and fold the flaps inwards. This is tricky to follow from the photographs, but the video shows it clearly.
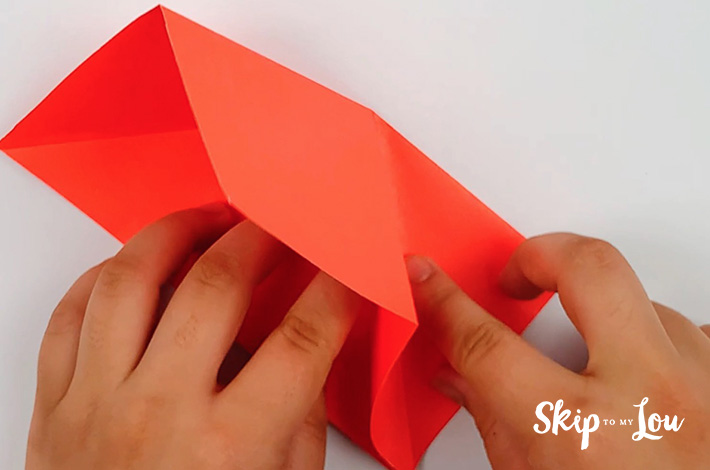

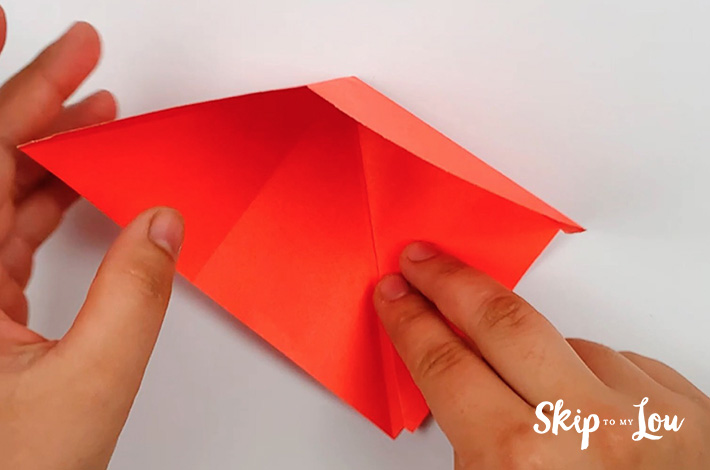
Step 6: Do the same on the other side. If you’ve done it correctly, the paper will form a kite shape.
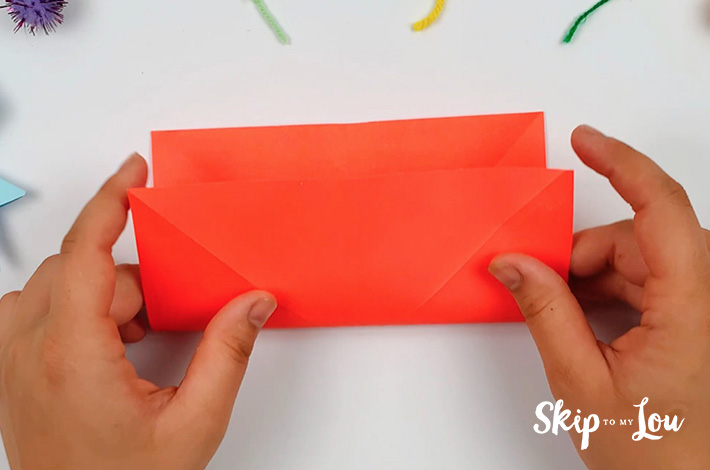
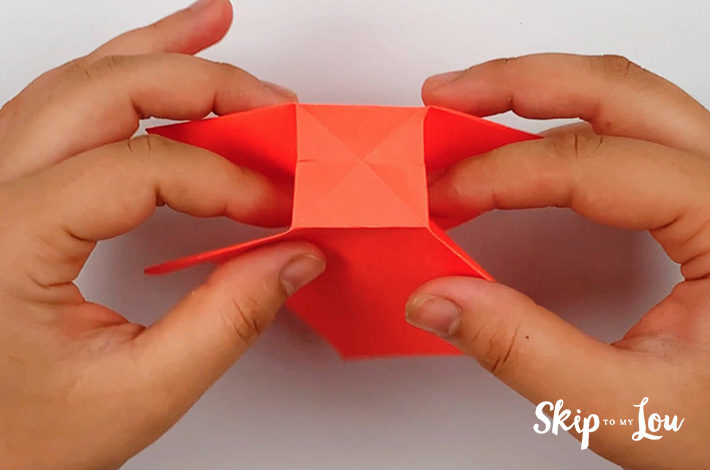
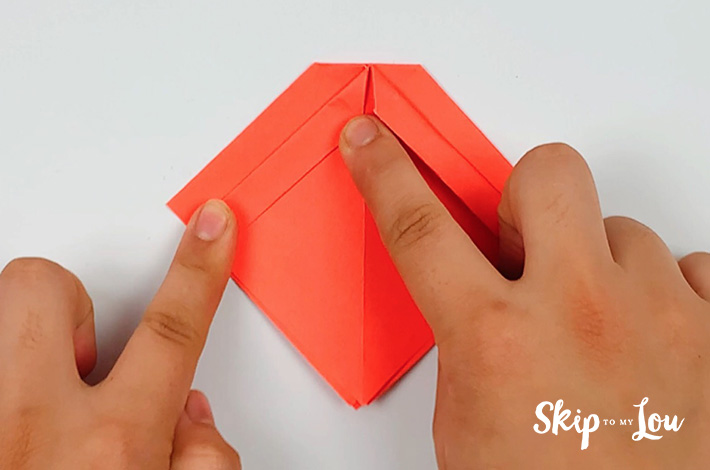
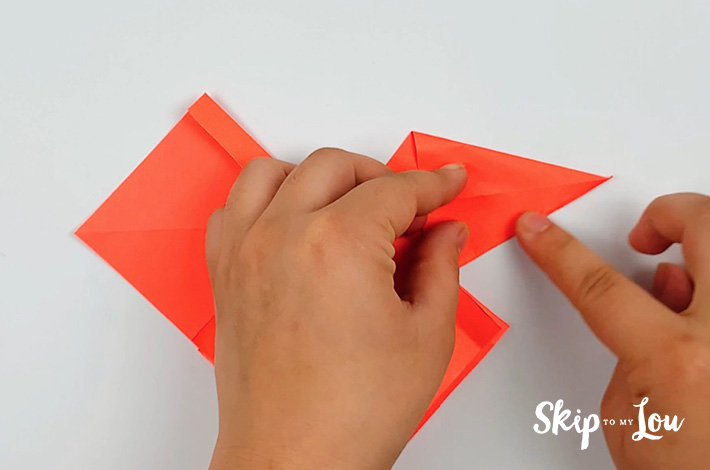
Step 7: Now fold the top triangle over, both forwards and backward.
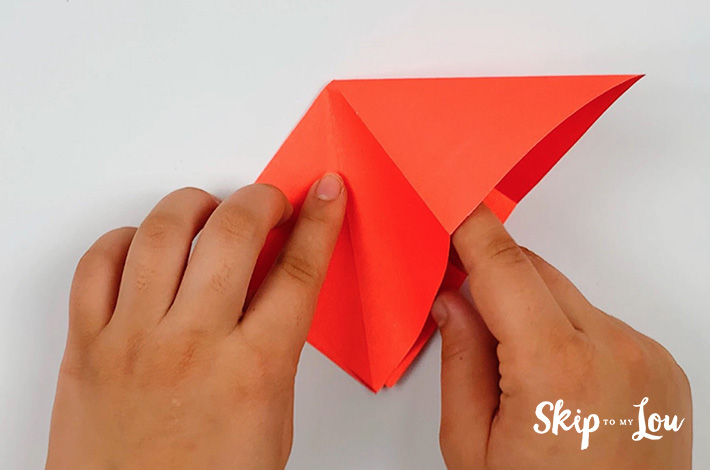
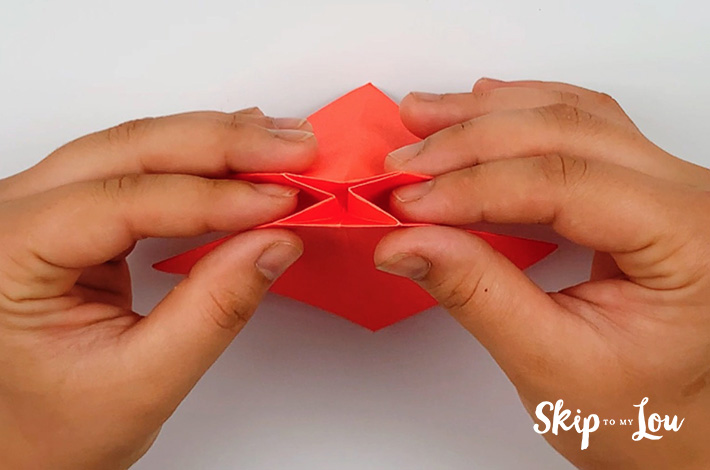
Step 8: Open the paper out, and make creases along the square figure. The video shows this clearly if you are struggling.
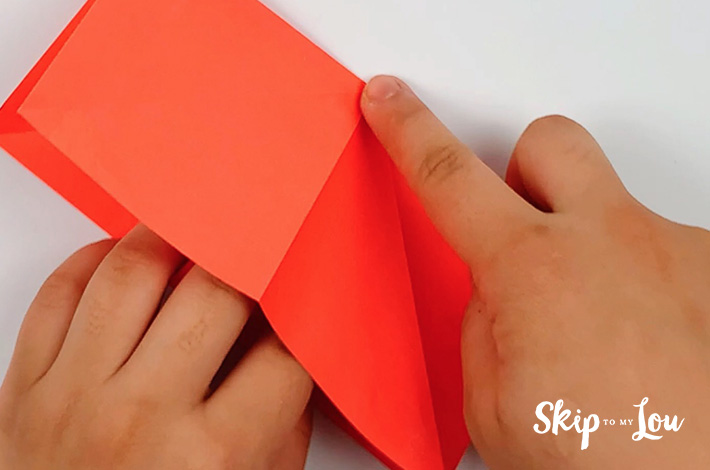
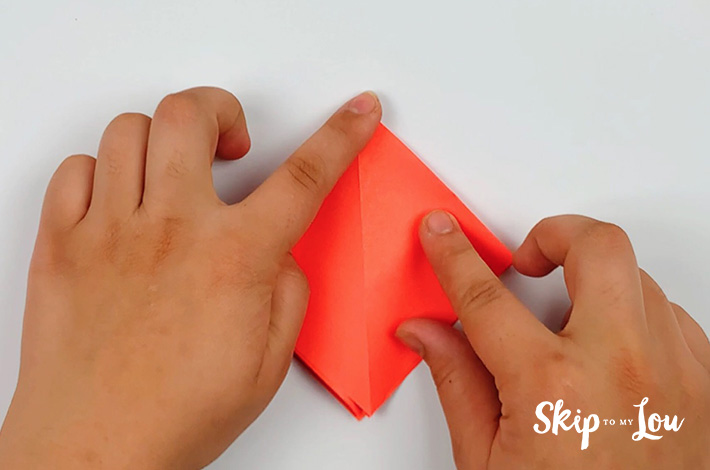
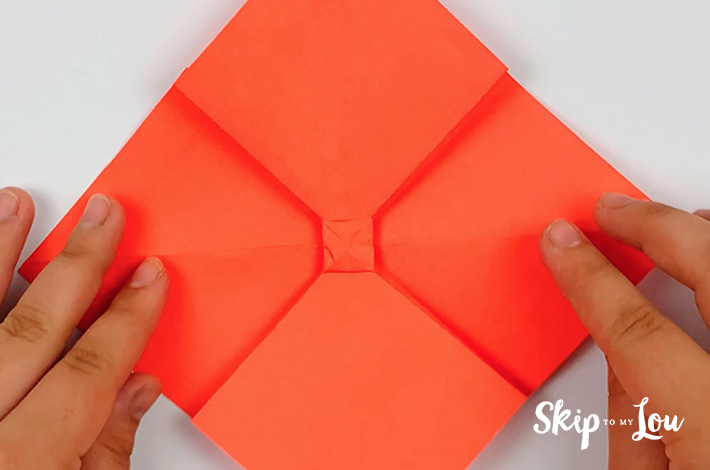
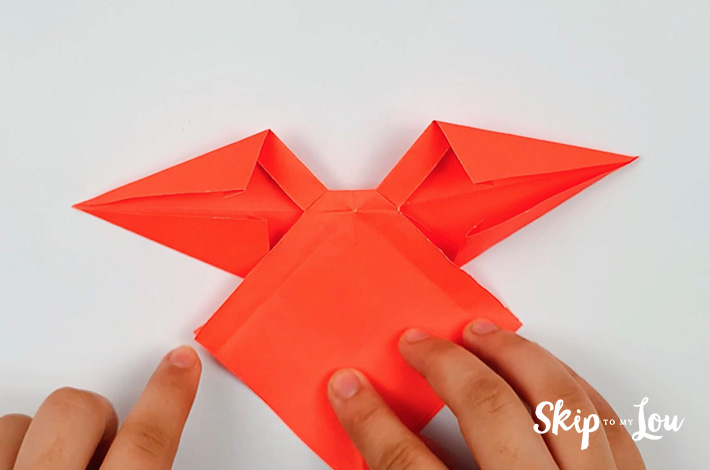
Step 9: Push the flaps, so the square is prominent, and then flatten the paper.
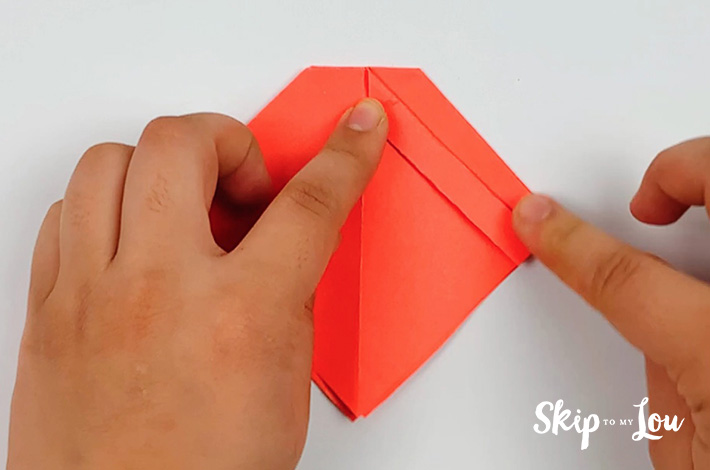
Step 10: Place the paper flat on the work surface and fold a flap on the right and left side as shown in the images. Flip the paper over and do the same on the other side.
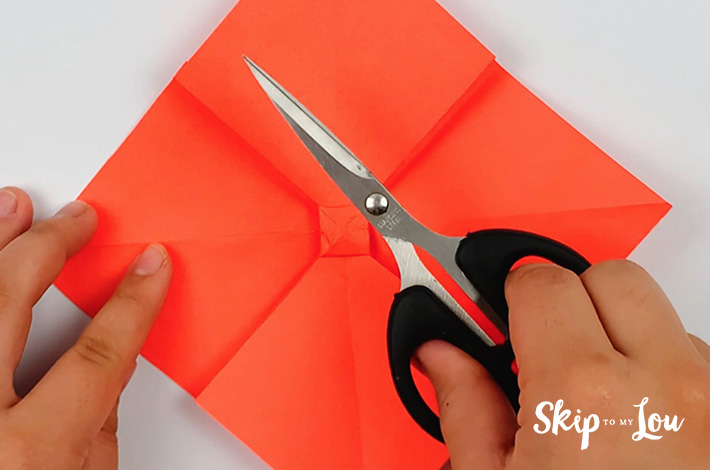
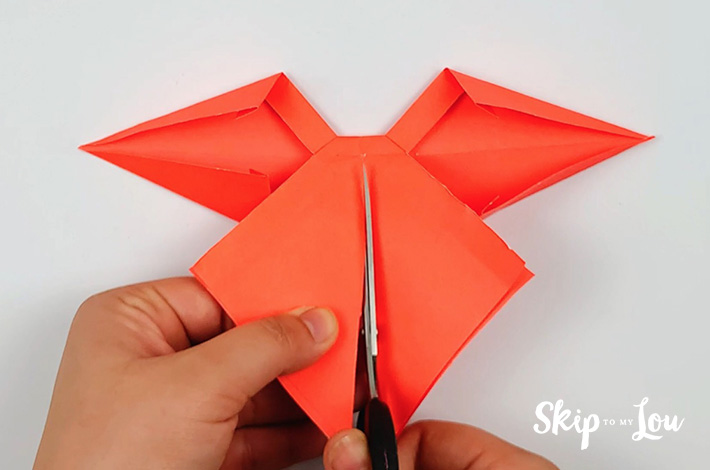
Step 11: Open up the paper, once again. It’s time to cut along the folded edges of the left and right flaps, so use scissors to do so. The video shows you clearly how to do this.
Step 12: Flip the paper over and fold the right flap towards the left flap.
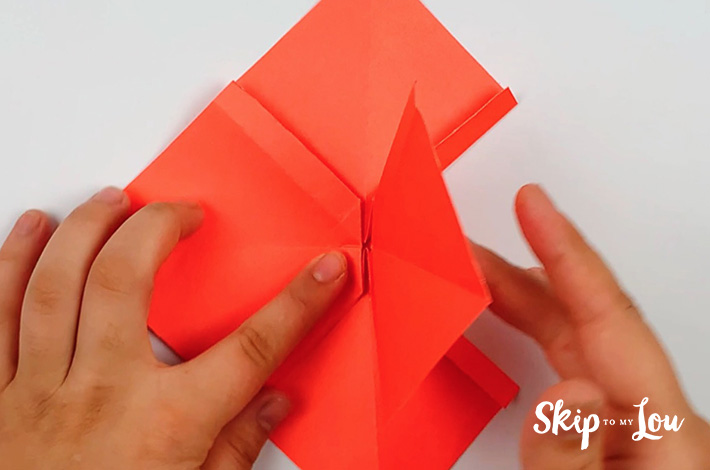
Step 13: Turn the paper 90 degrees. Fold the top of the right flap down, and the bottom section upwards to form a point. Do the same on the left-hand side.
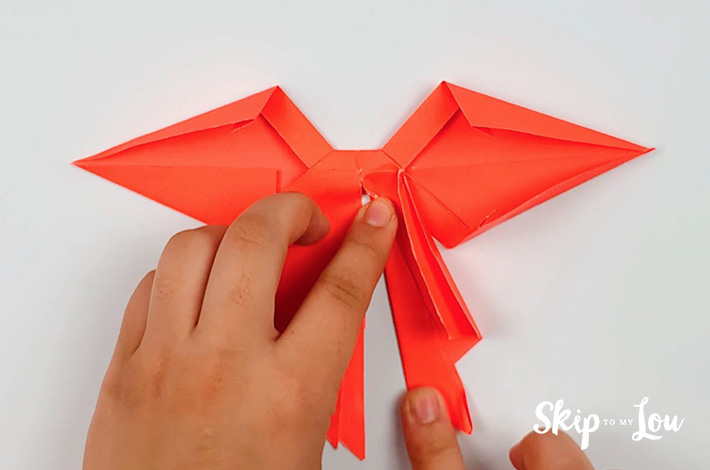
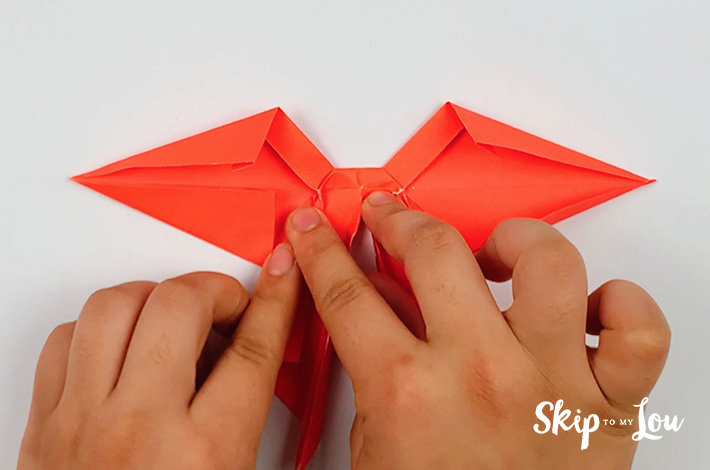
Step 14: It’s time to make the bow tails so cut upwards on the bottom piece of paper as shown in the images. Fold the right-hand flap and left-hand flap as shown in the images to form the tails. The video shows this clearly if you are struggling.
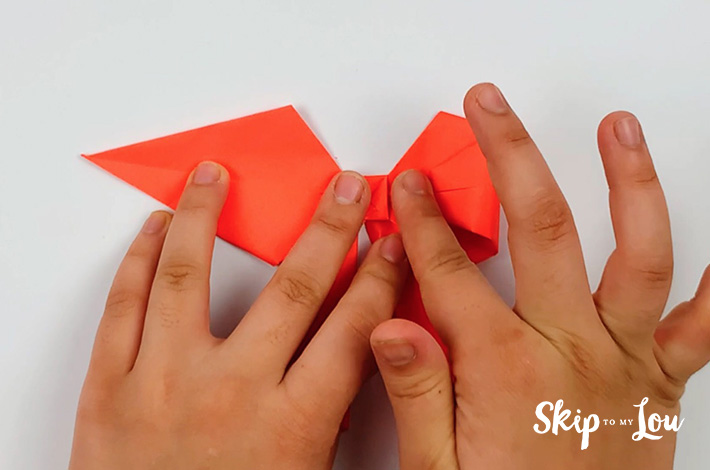
Step 15: Flip the bow over and tuck the left and right points into the center of the bow.
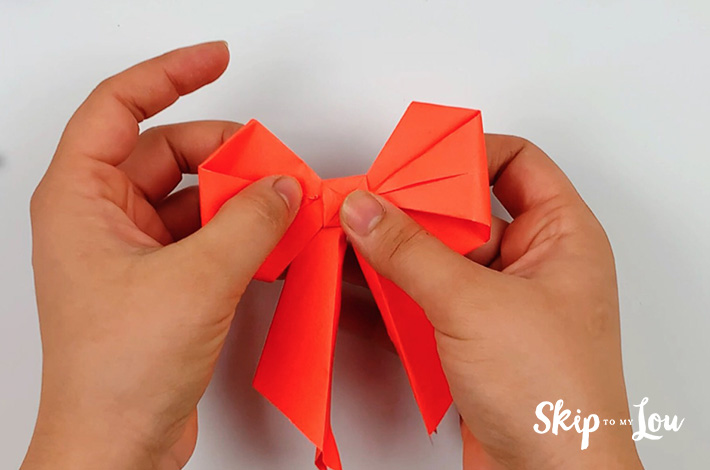
Step 16: Trim the ends of the ribbon, cut a V-shape at the bottom and your origami bow is done!

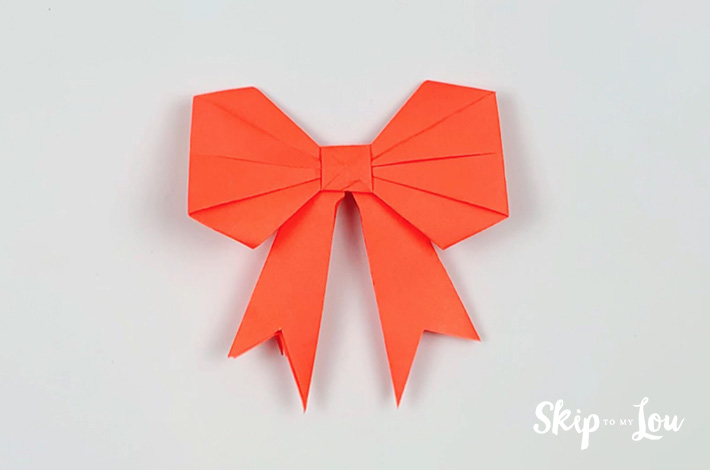
Well done!
Get more origami paper ready and check out more origami tutorials, like Origami Heart Sucker Covers, Origami Crane, and Origami Cat, origami pumpkin amongst others.
Try Some Of These Other Paper Crafts and Origami Projects
We love paper crafts on Skip to My Lou, so be sure to check out these other projects.
I would love to keep you fully stocked with creative ideas, yummy recipes, fun crafts, and loads of free printables. Subscribe to Skip to my Lou to get new ideas delivered to your inbox. Follow me on Facebook, Pinterest, Twitter, and Instagram for all my latest updates.