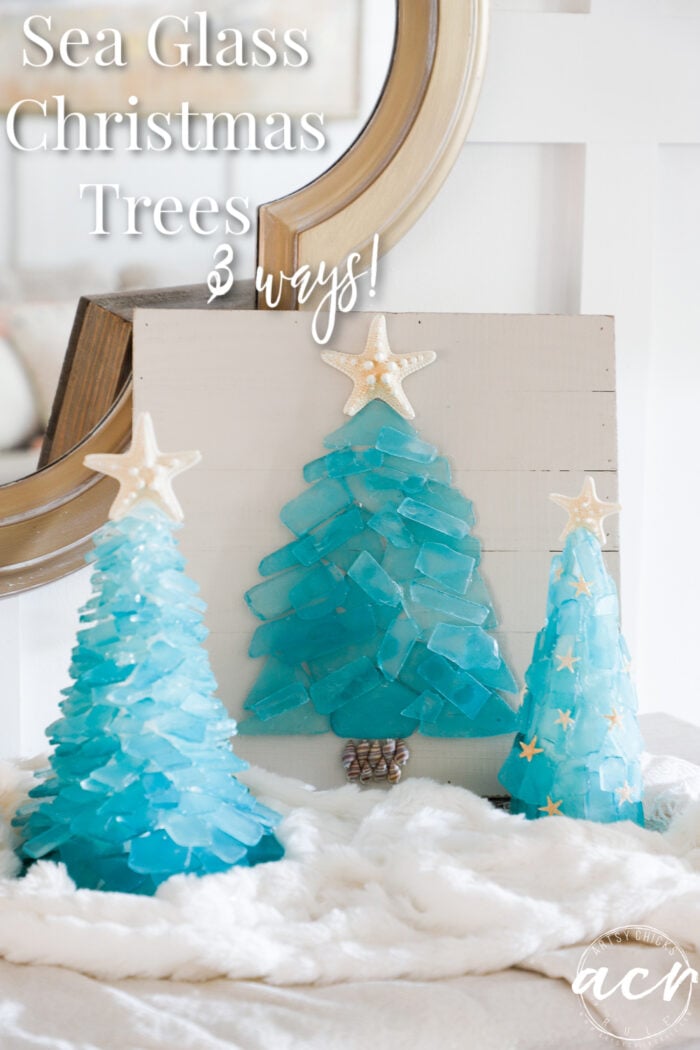
DIY Sea Glass Christmas trees, learn how to make them 3 different ways!
Hello friends!! I have been missing around here for a bit! Lots of things going on around our home and it’s kept me super busy. (too busy! LOL) We are getting there but it’s just a lot. So hoping to be done by Christmas but it’s probably not very realistic however I’m holding on to it anyway!! haha
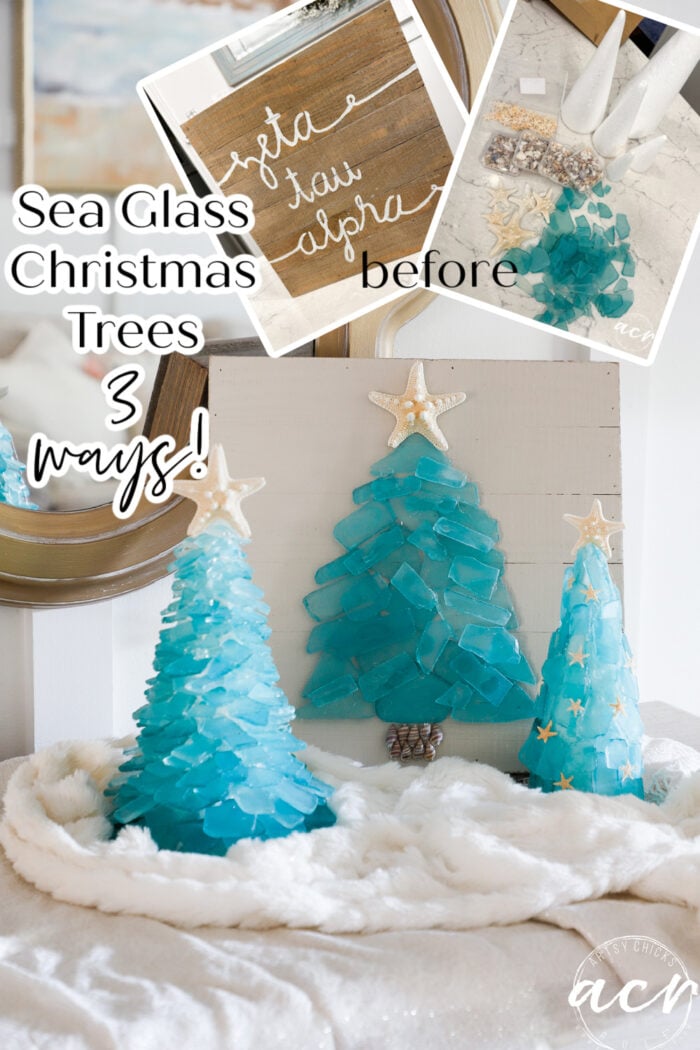
I did squeeze some time in there to get a little crafty though! I bought supplies to make sea glass Christmas trees. And ended up making 3 different kinds! Hence the name of this post, DIY Seaglass Christmas Trees – 3 ways!
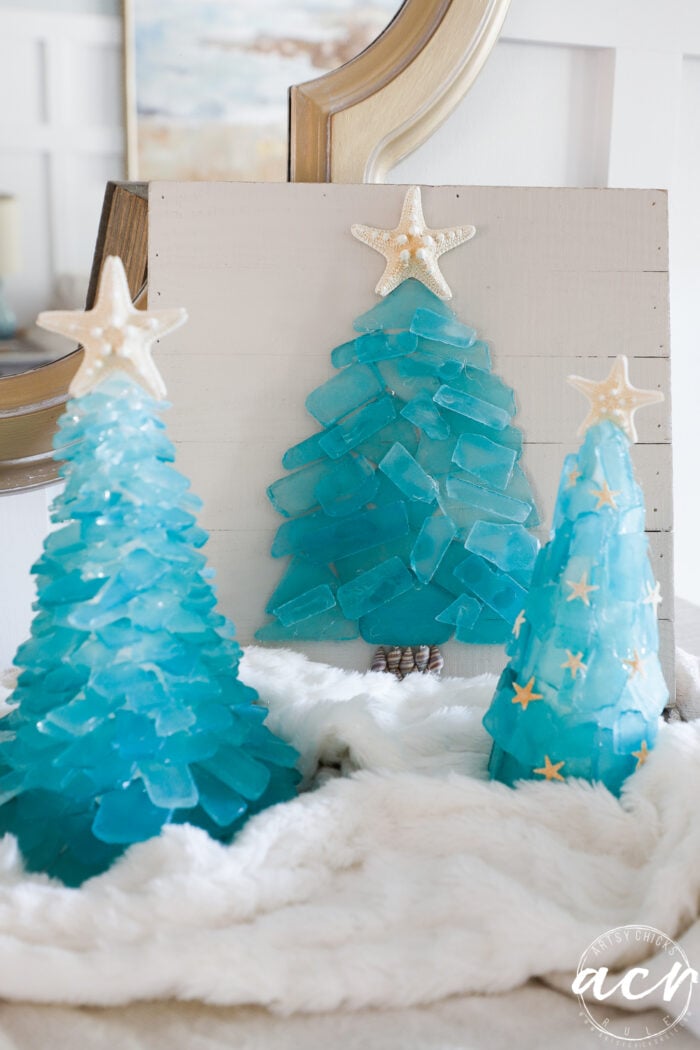
I love how they all turned out. One might be prettier than the other, however, the other might be SO much more simple to do. I give you all the deets below.
Here’s what I started with. I’ll link the source for all of it below.
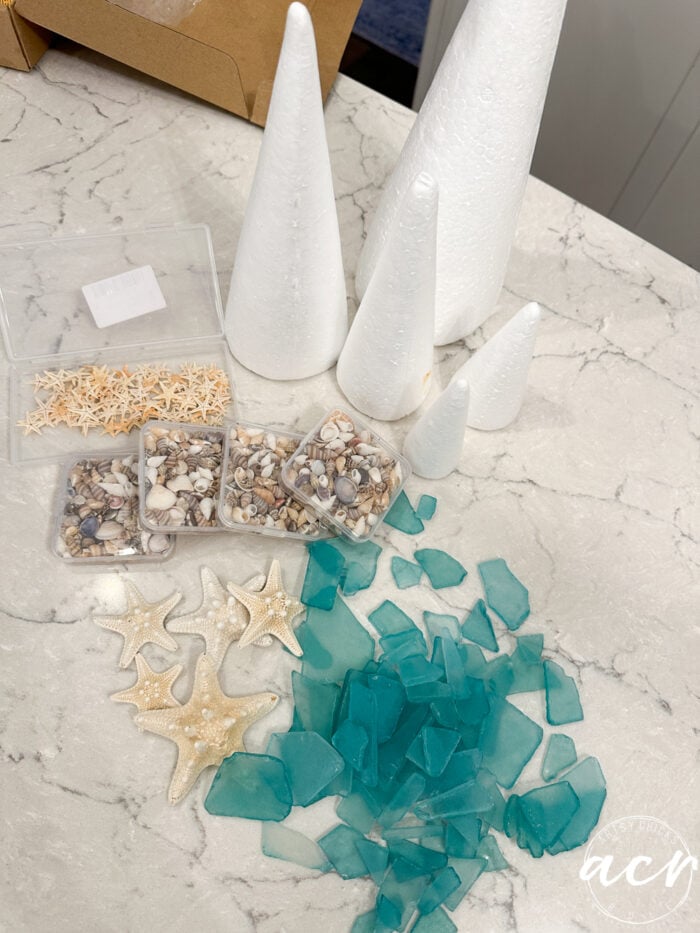
MATERIALS SOURCE LIST
Prefer to shop on Etsy? I have an Etsy shop also, here!
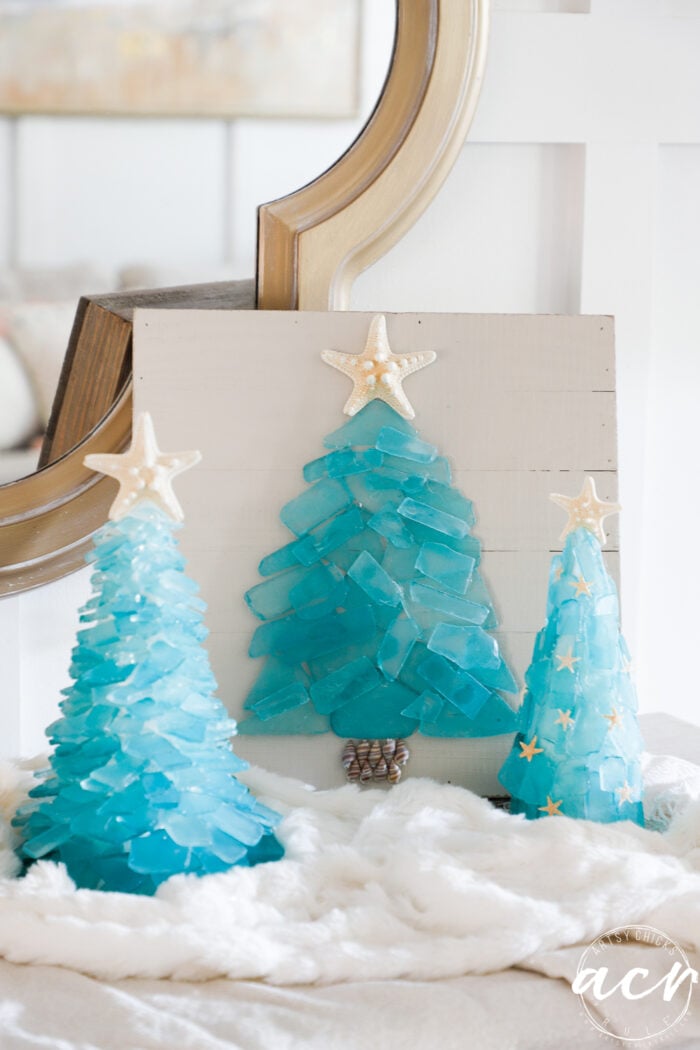
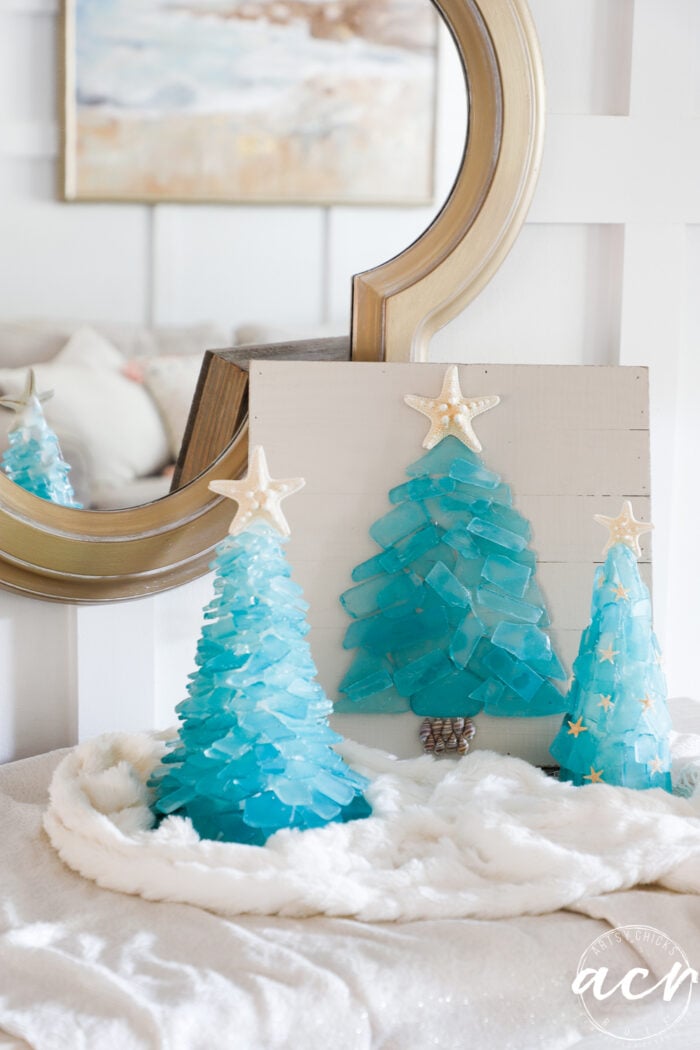
So these different styles don’t really have a name so I’ll just call them slim, full, and flat!
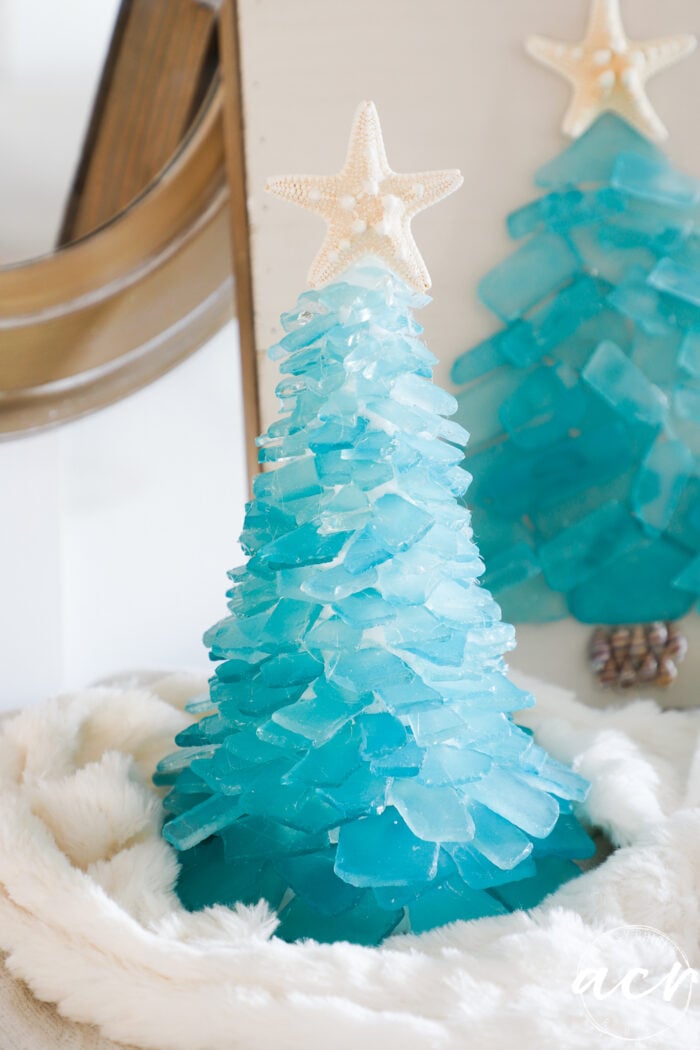
SLIM SEA GLASS CHRISTMAS TREE
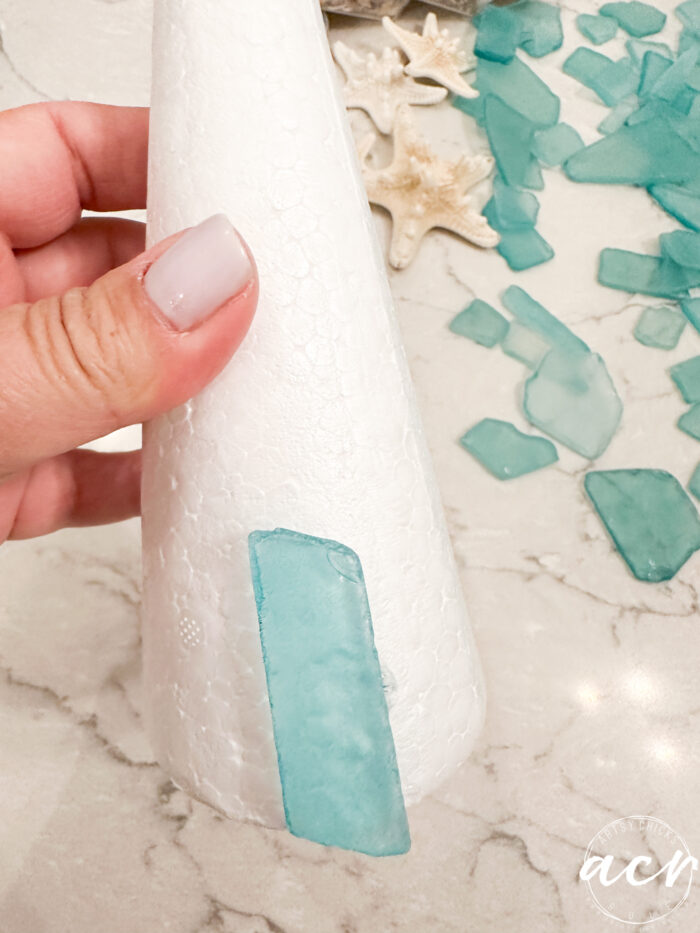
I started this one by adding larger pieces all around the bottom.
I just sort of fit them in where I could.
I did this all the way to the top.
Then when it was fully covered, I went back over the whole thing “filling in” the holes or bare spots.
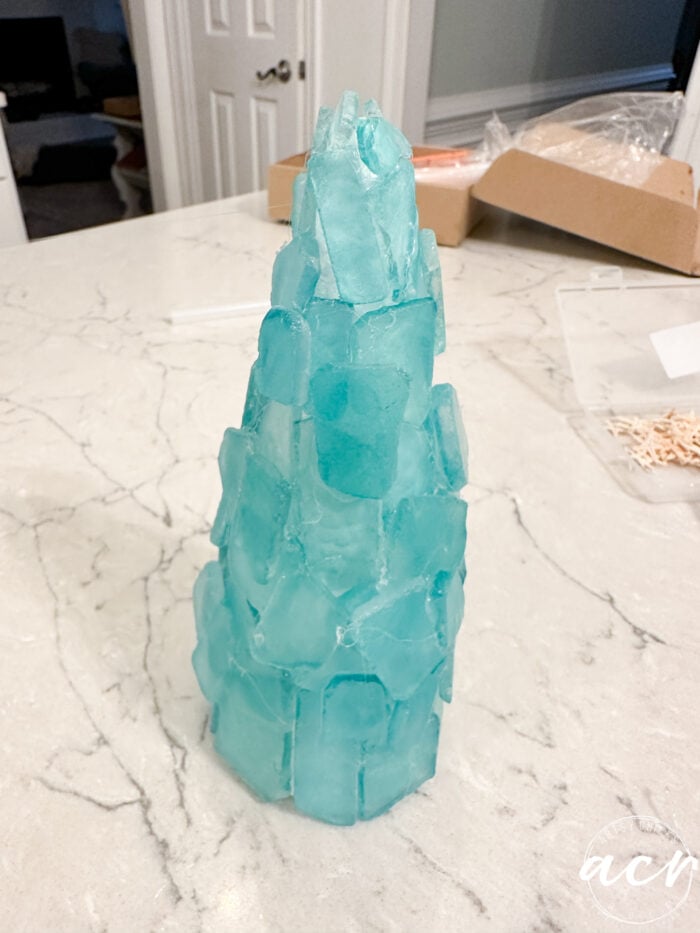
Pretty simple and quick! (and to note, the Gorilla glue sticks are THE strongest glue stick I’ve used!)
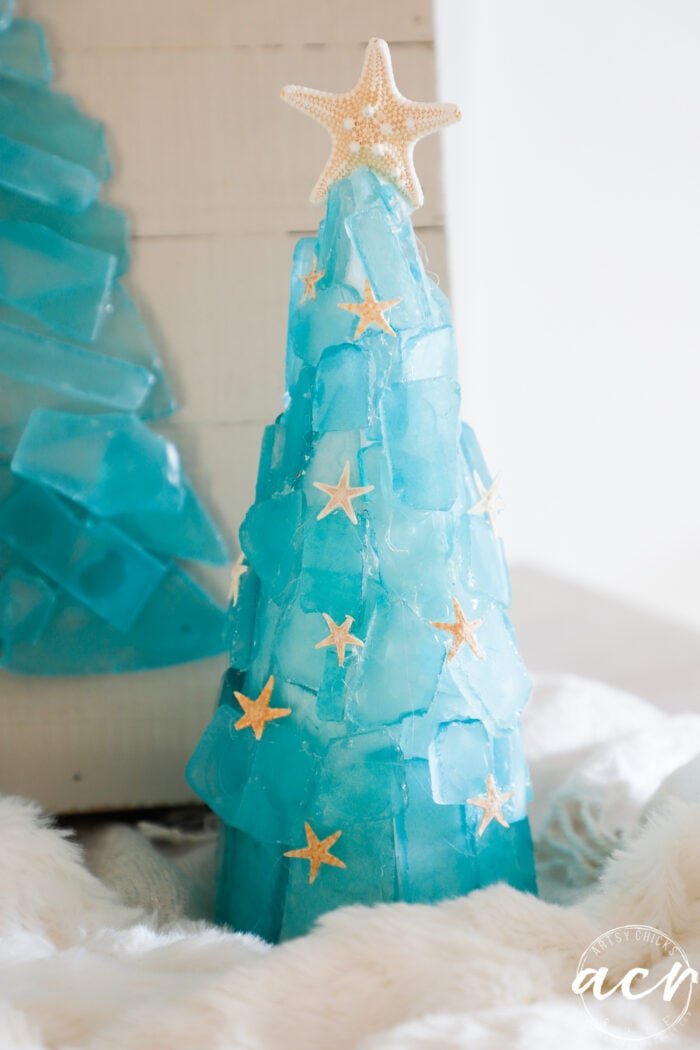
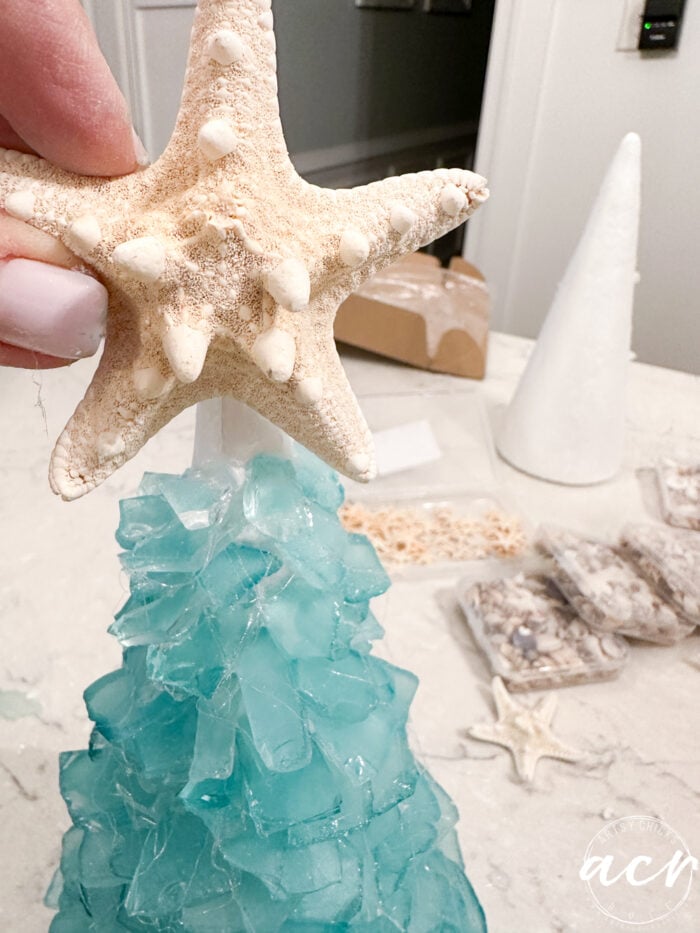
I decided to add the tiny starfish to this one to decorate it.
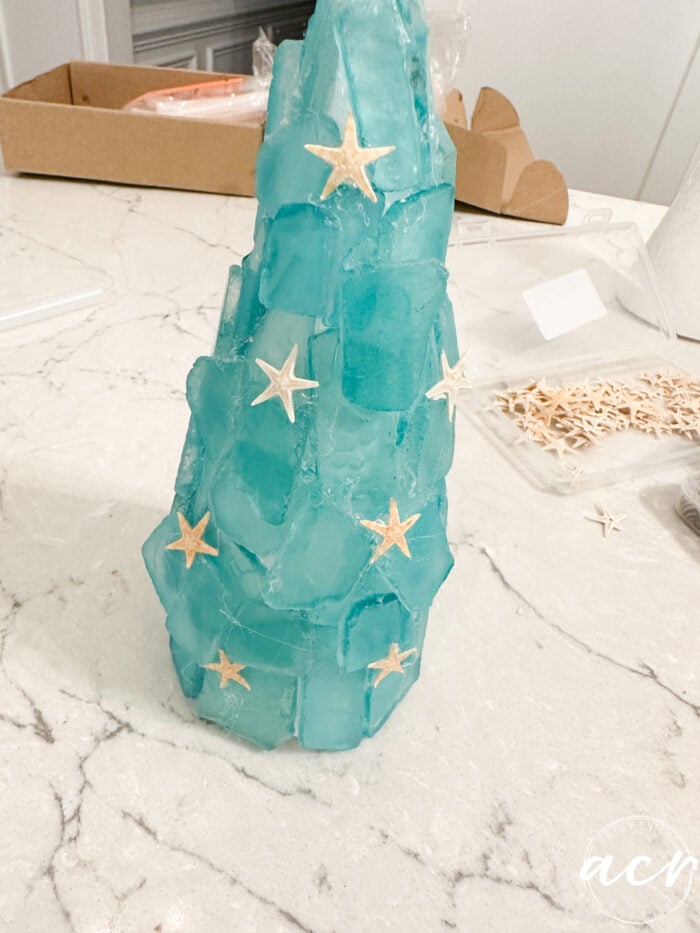
And of course the “star” on top!
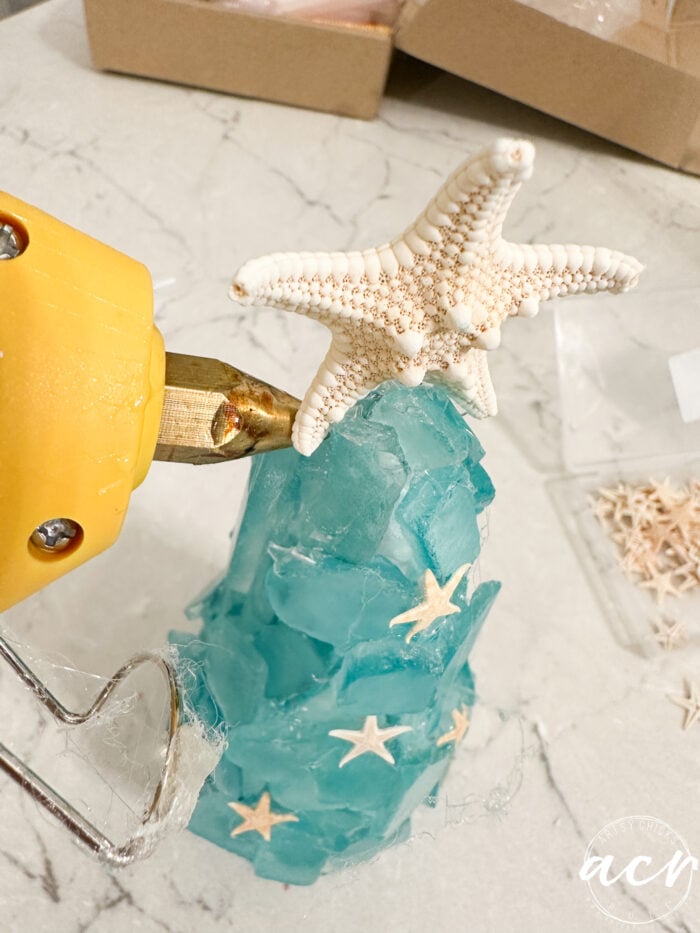
Cute!
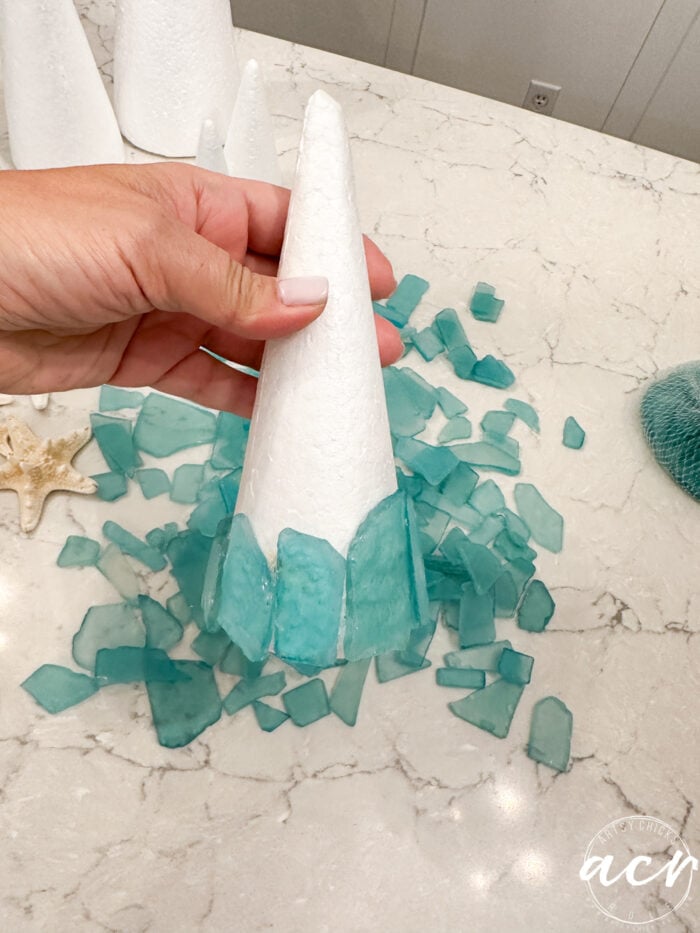
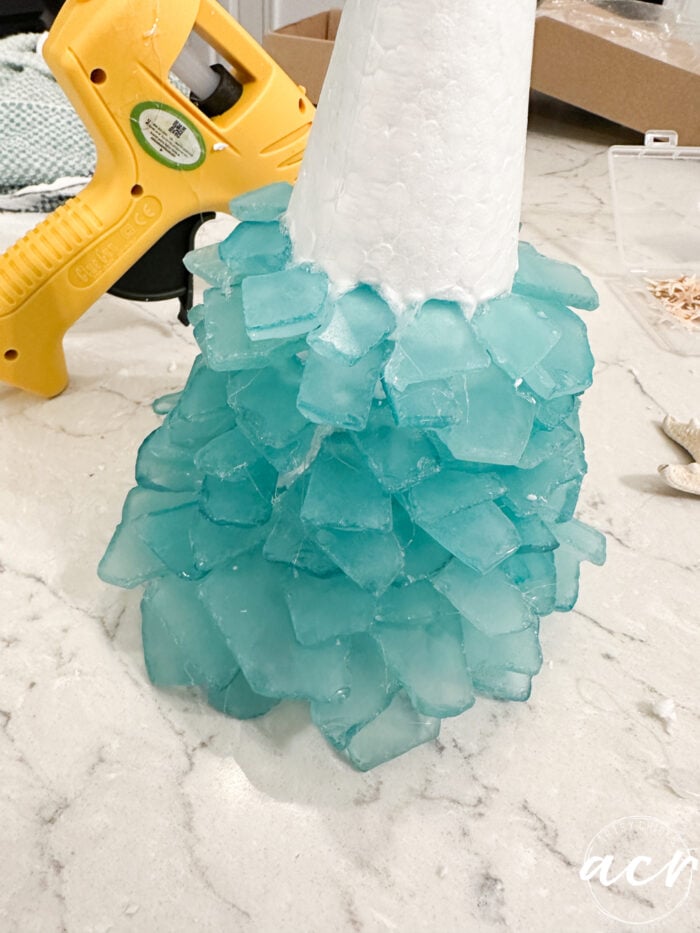
FULL SEA GLASS CHRISTMAS TREE
Okay, so this one is done a little differently.
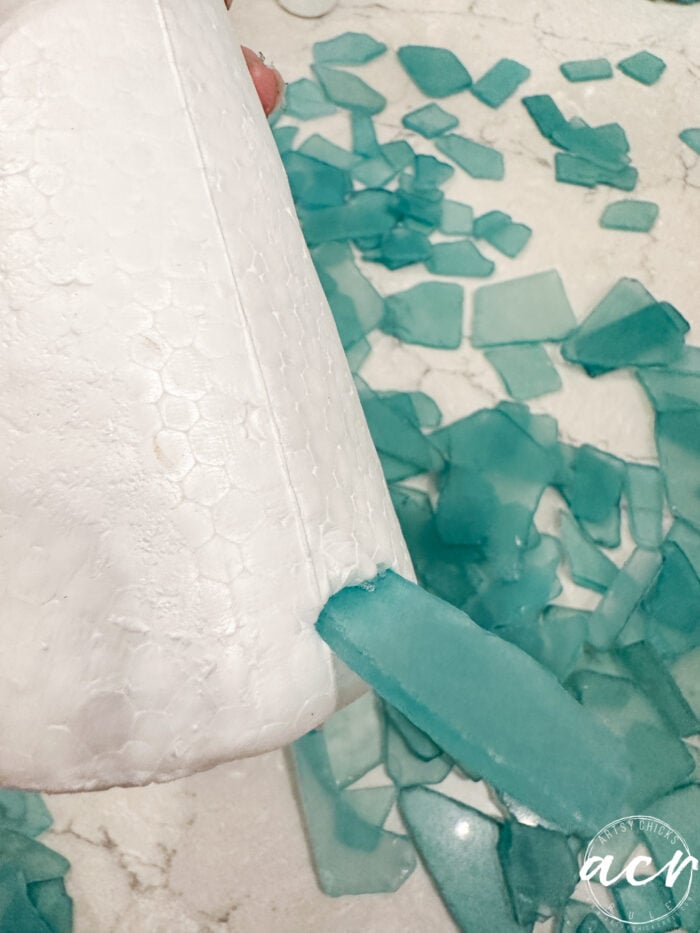
Instead of laying the glass onto the foam, you stick it in.
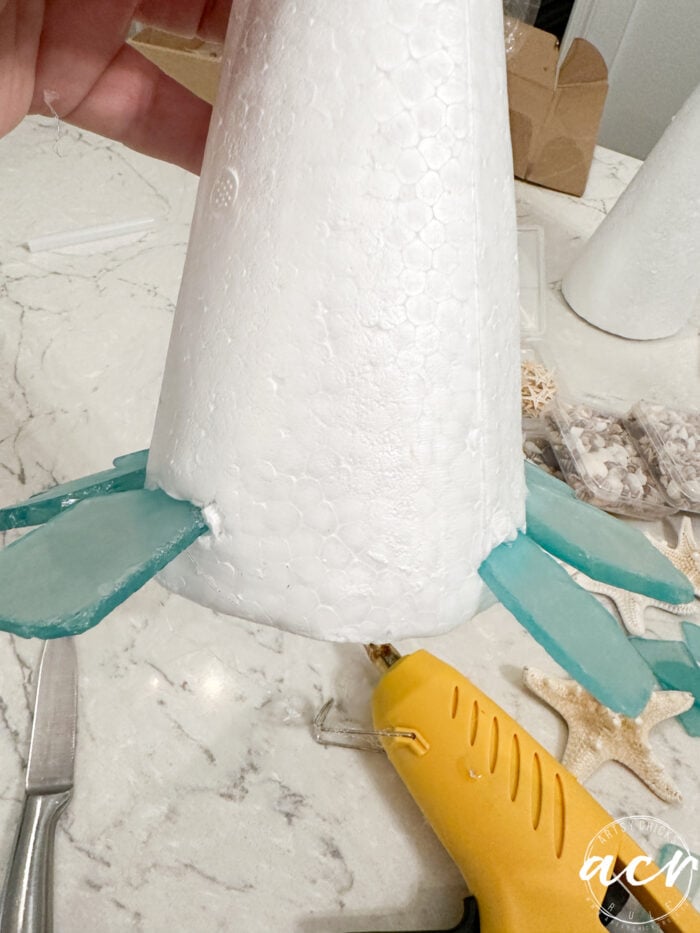
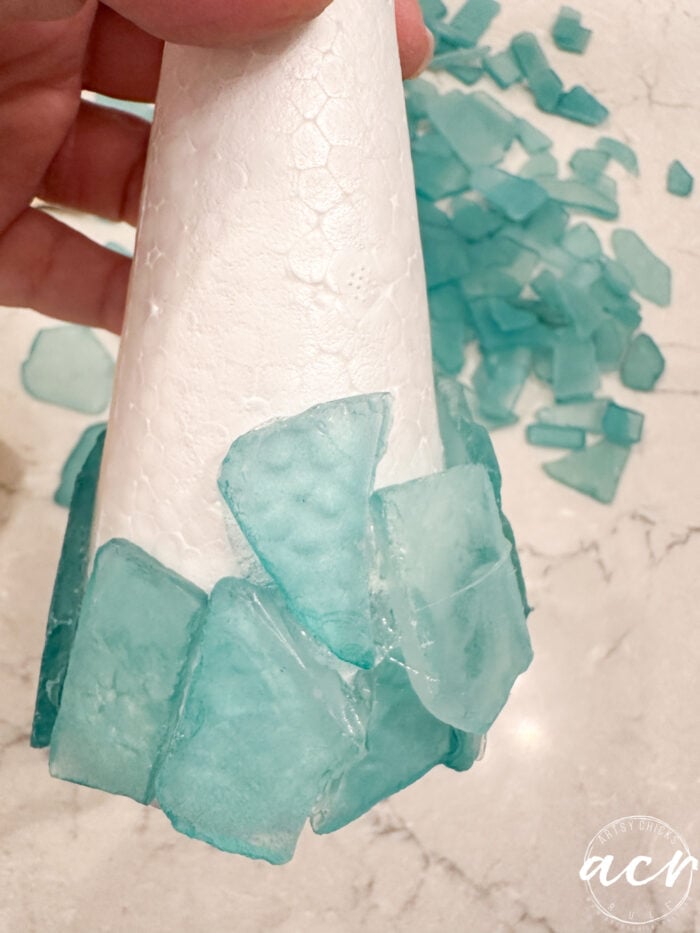
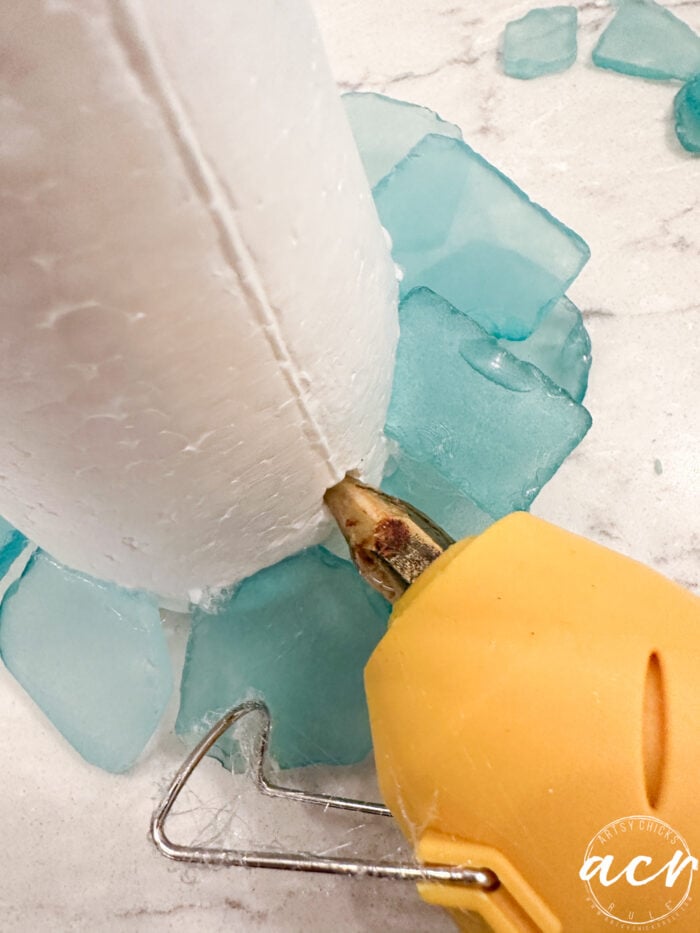
The styrofoam was pretty tough so I had to cut with a knife first, add glue in the hole, then add the glass.
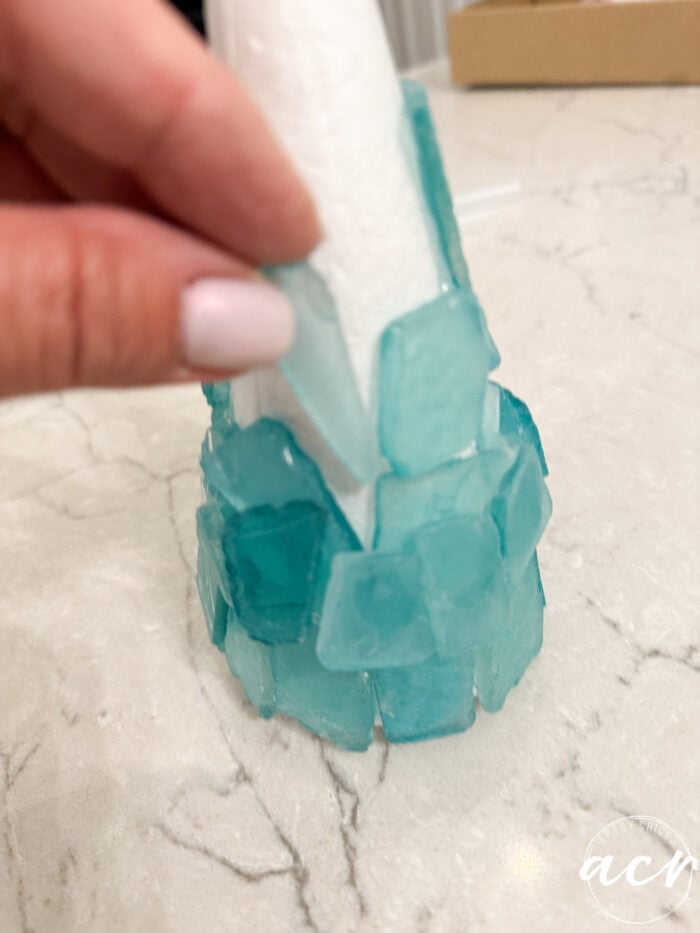
I worked my way around the tree trying to go from larger pieces of glass to smaller ones as I went up.
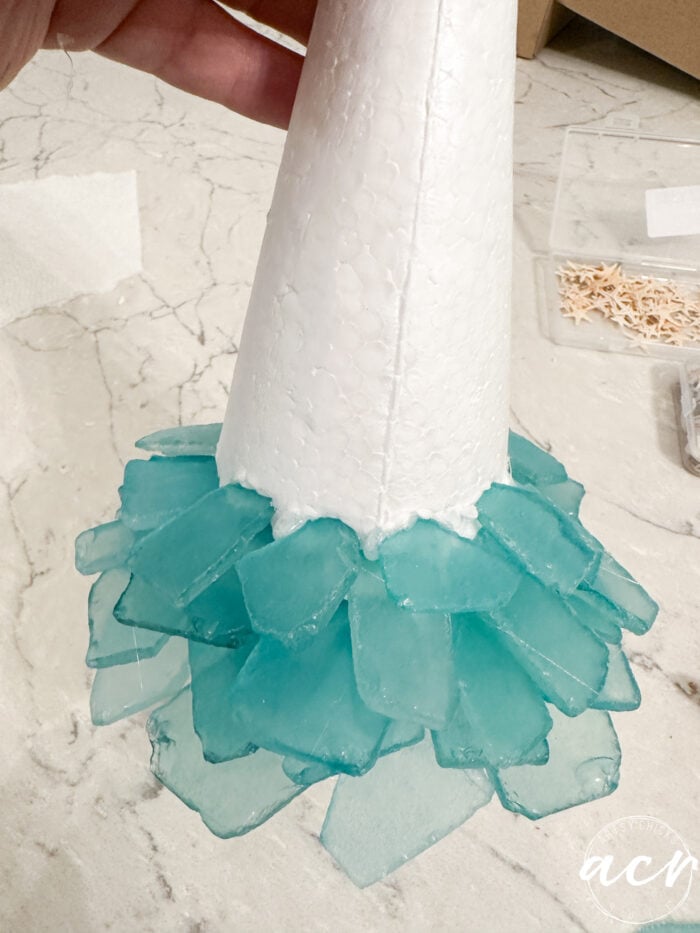
It was pretty tedious, to be honest!!
I was sort of over it at this point!! haha!
But I’m no quitter! lol So I continued.
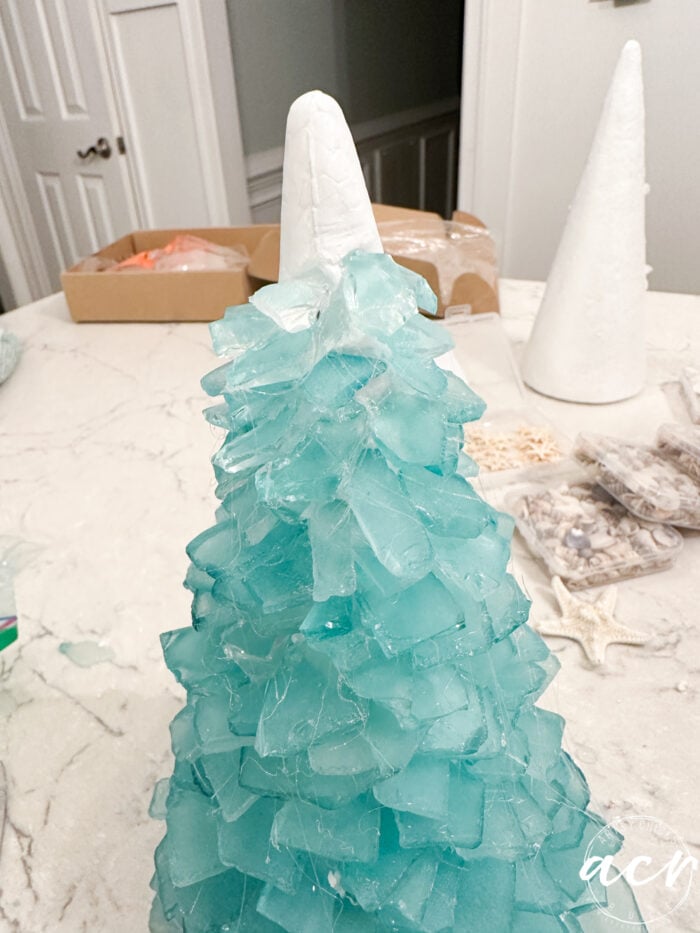
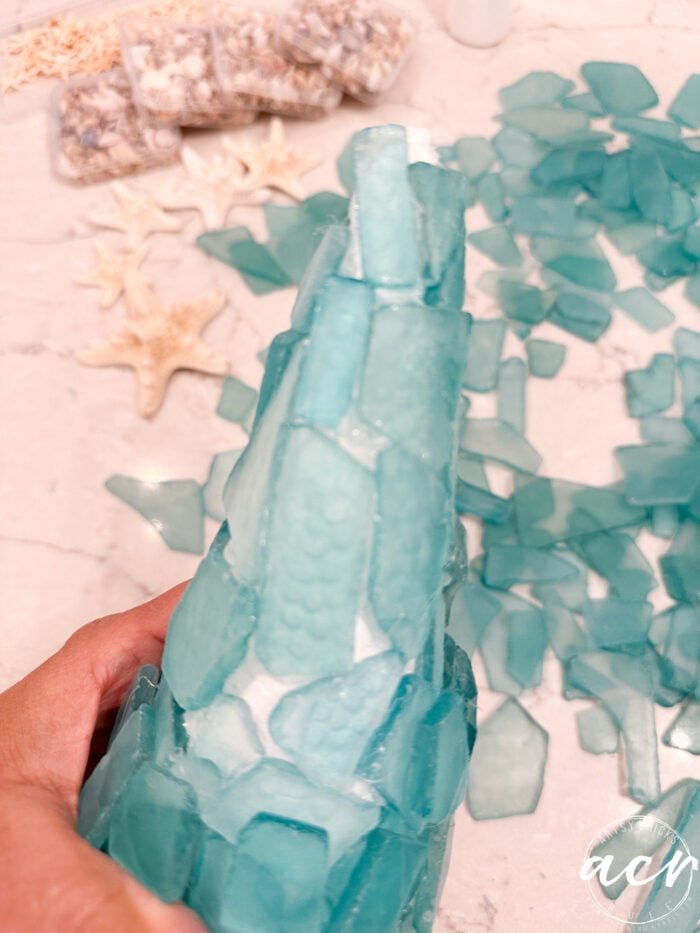
When I got to the top, I left a bit of the foam glass-less so I could glue the star on top.
This one is my favorite but I’m not sure I’ll do it again! ha!
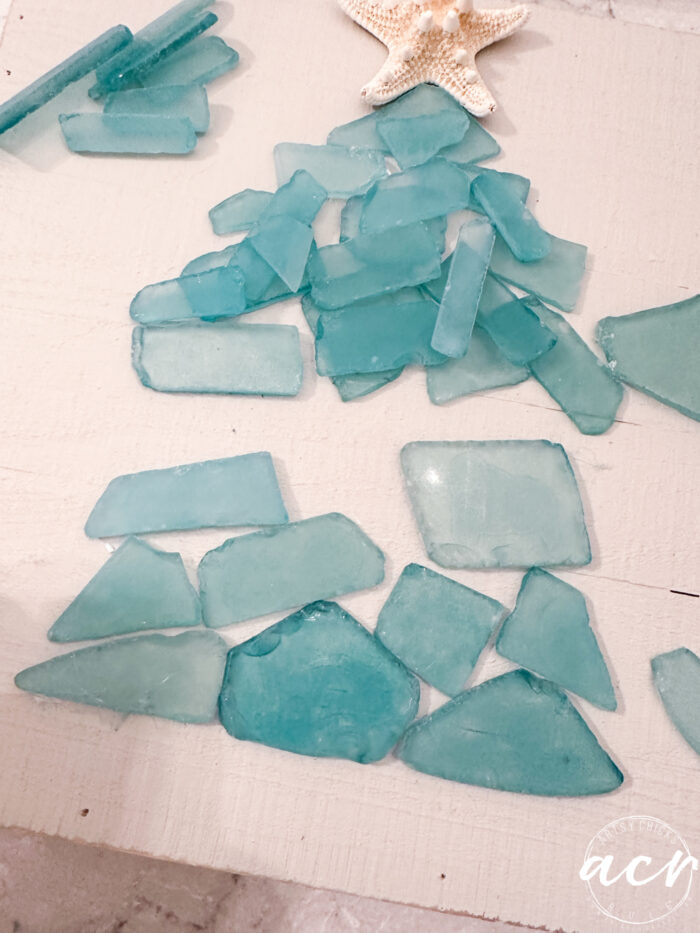
FLAT SEA GLASS TREE
This one started like so…
I found this sign at the thrift store (along with a few other things I’ll be sharing soon).
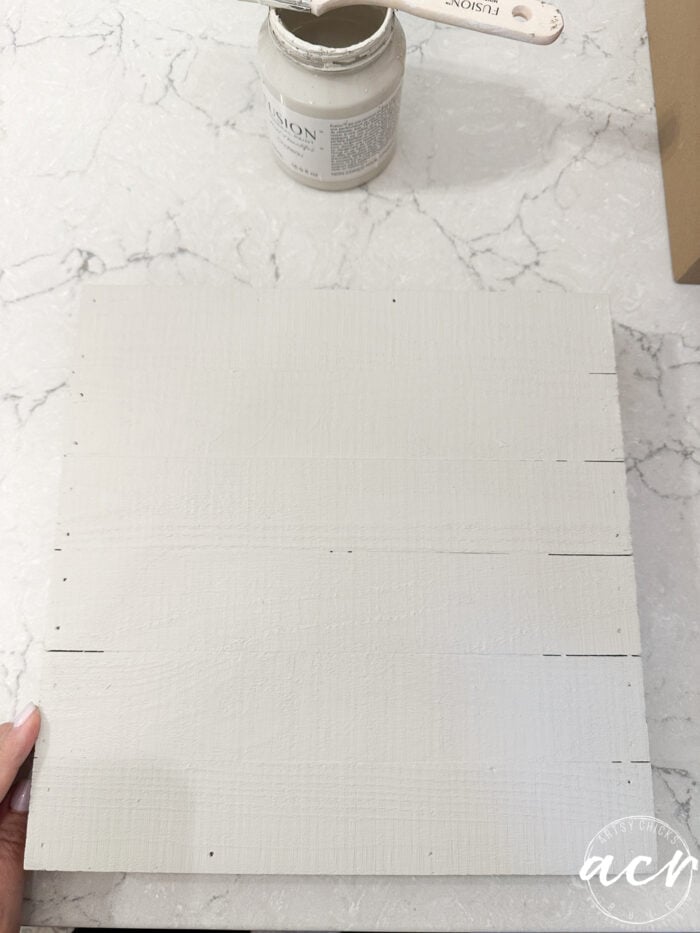
I used Chateau to paint over it. (it’s a nice warm white color)
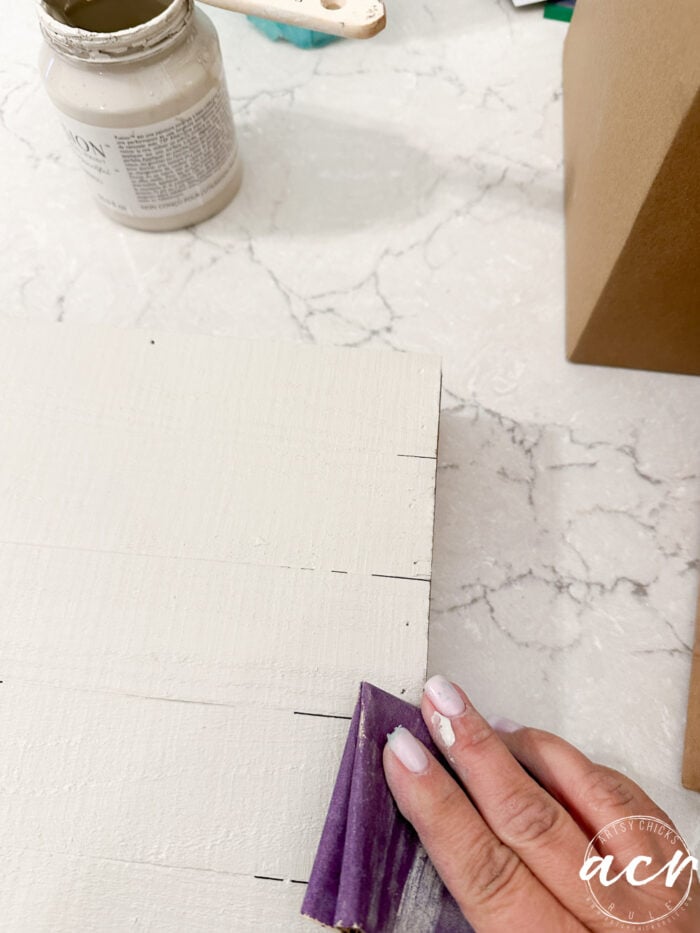
Once dry, I lightly sanded the edges.
Then I laid out the glass to see how I would arrange it.
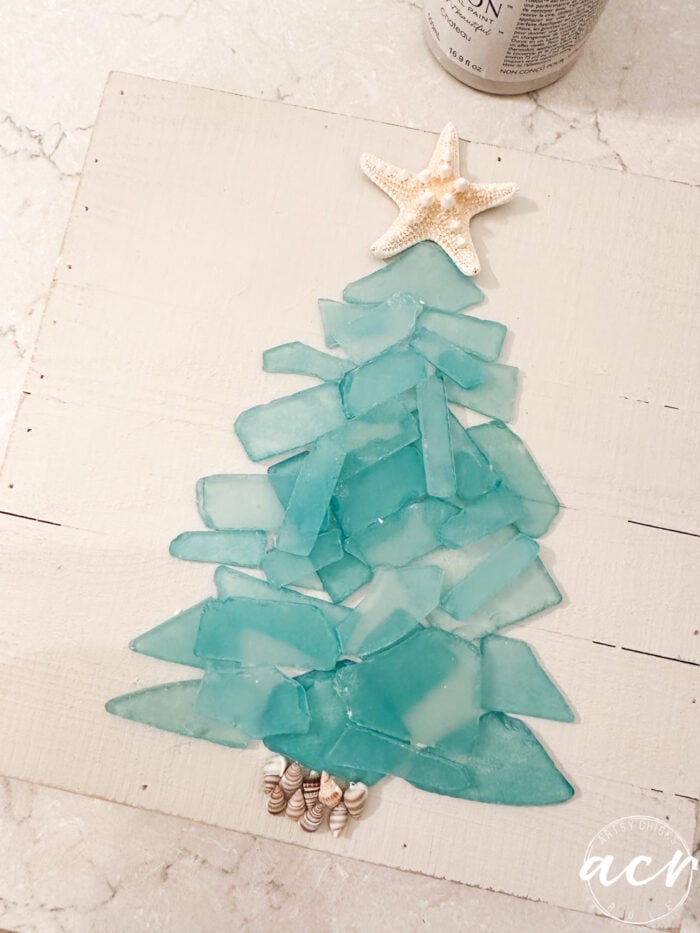
And began gluing, bottom to top.
I was trying to do it in the shape of a tree, fitting in pieces along the way.
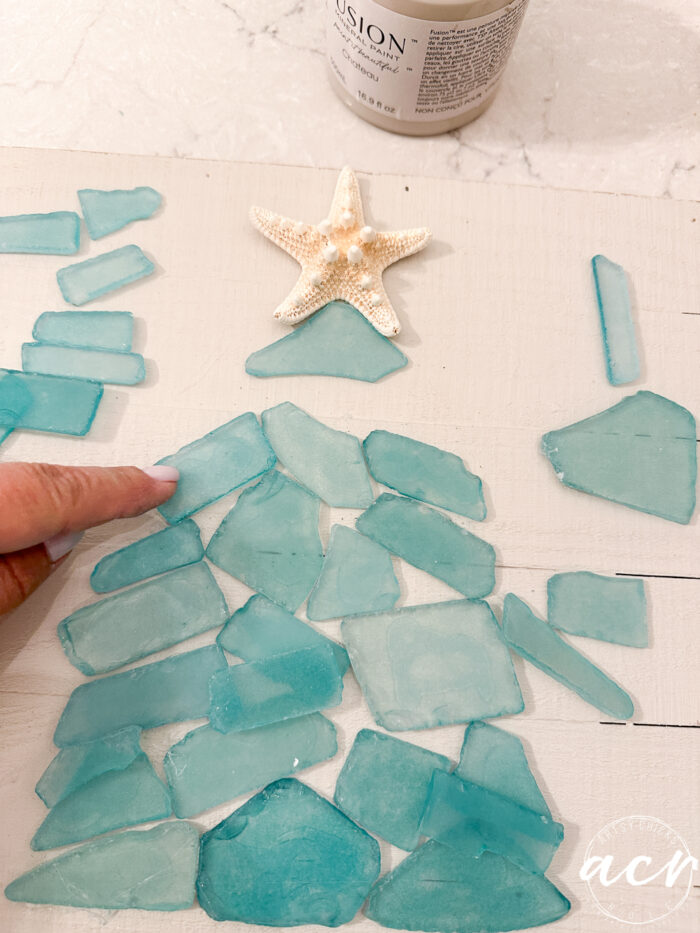
That almost triangle one was perfect for the top.

Once I had the base layer down, I glued a few more to the top covering holes, giving dimension, etc.
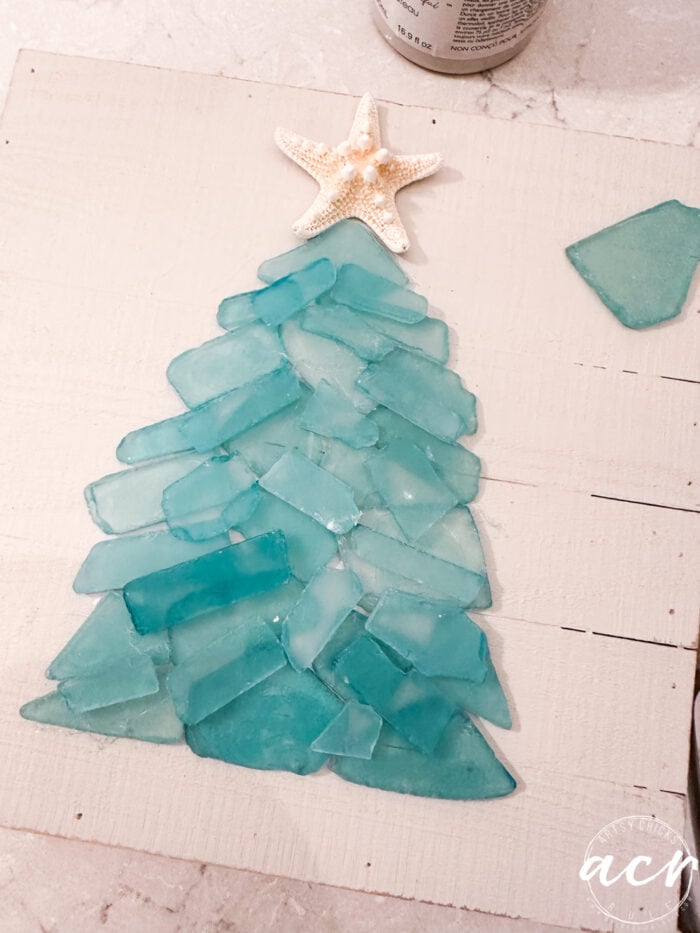
And yep, another knobby “star” fish on the top! Plus seashells for the tree stand below.
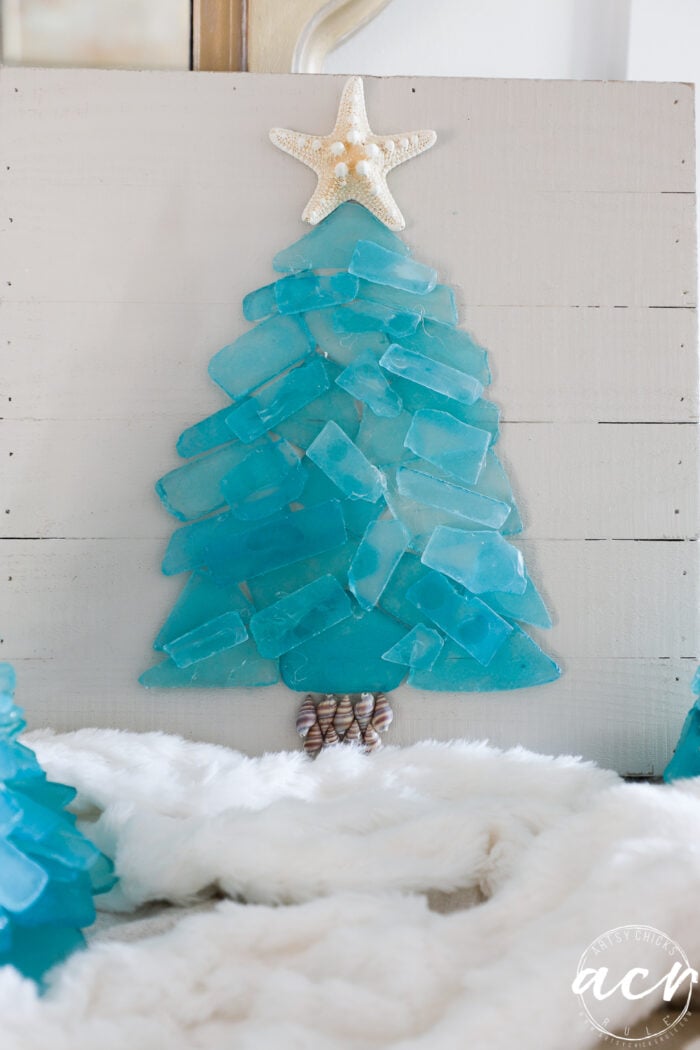
I considered adding some tiny shells and tiny starfish as “ornaments” but decided to keep it like this.
This one was super quick and simple to do as well.
That’s it! Sea glass trees, 3 ways…
They are all three fun and I love the color!
PIN it to save it!
Have a wonderful weekend!! (Can you believe we are already halfway through November?! What?!)
I’ll see you next week with our Trashy Treasures group and more of our home update(s)!
Want to see even more Christmas holiday projects?? Click here for more.
xoxo